I recently returned from visiting two long-time friends whose rustic home and gardens are tucked into a wooded hillside in central New Hampshire. Early Sunday morning, long before I heard my sleepy friends stirring, I tiptoed outside to enjoy my coffee in the cool morning air, smiling at the chattering birds and the scolding chipmunks protesting my presence on their porch. After a few moments I also noticed the delicate quality of the early morning light, so decided to take a few pictures on my smartphone. I took more photos than I expected and later shared them with my hosts. That was when I discovered yet again that I notice things other people may not even see: I do double-takes and slow gazes all the time.
This brings me to a related topic on seeing: I received an inquiry this week from a reader of my book:
“My question is about the recommended index card style view catcher [pages 19 and 30 in “Look at That!”] for the back of my sketchbook. I sort of get the idea of what it is for but do you have any tutorial (or one recommended) regarding ‘best practices’ on how to best make use of a view catcher?“
The answer is yes, of course. First though, let’s take a step back to the beginning, to journey from Looking, to Seeing, to Finding Your Focus, to Designing your Vantage Point.
It’s a whole lot simpler than it sounds.
Whenever you decide to take a photo, or do a sketch, you’ve already begun the process of elimination. Out there in the real world there’s just too much to look at, and if you want the person who’s looking at your photos or sketchbook to see what you saw, to see the specialness of what you noticed, you have to help them.
You simply need to ask yourself two questions:
1- Where’s my focus?
2- Where shall I put it?
The first is easy: Your focus is whatever made your roving glance pause, suddenly stop, or do a double-take.
Look again.
Is it worth an intentional second glance? Is it worth a good stare? Is it worth a photo or sketch?
Yes? Good.
On to the second question: Where do I put it?
Call it design, call it composition, but no matter what, don’t let it scare you because this too is not hard. There’s a well-known “rule” in the art world called the Rule of Thirds. Here’s a link to learn more about it.
I use a slightly different guideline (softer than a rule, did you notice that?)
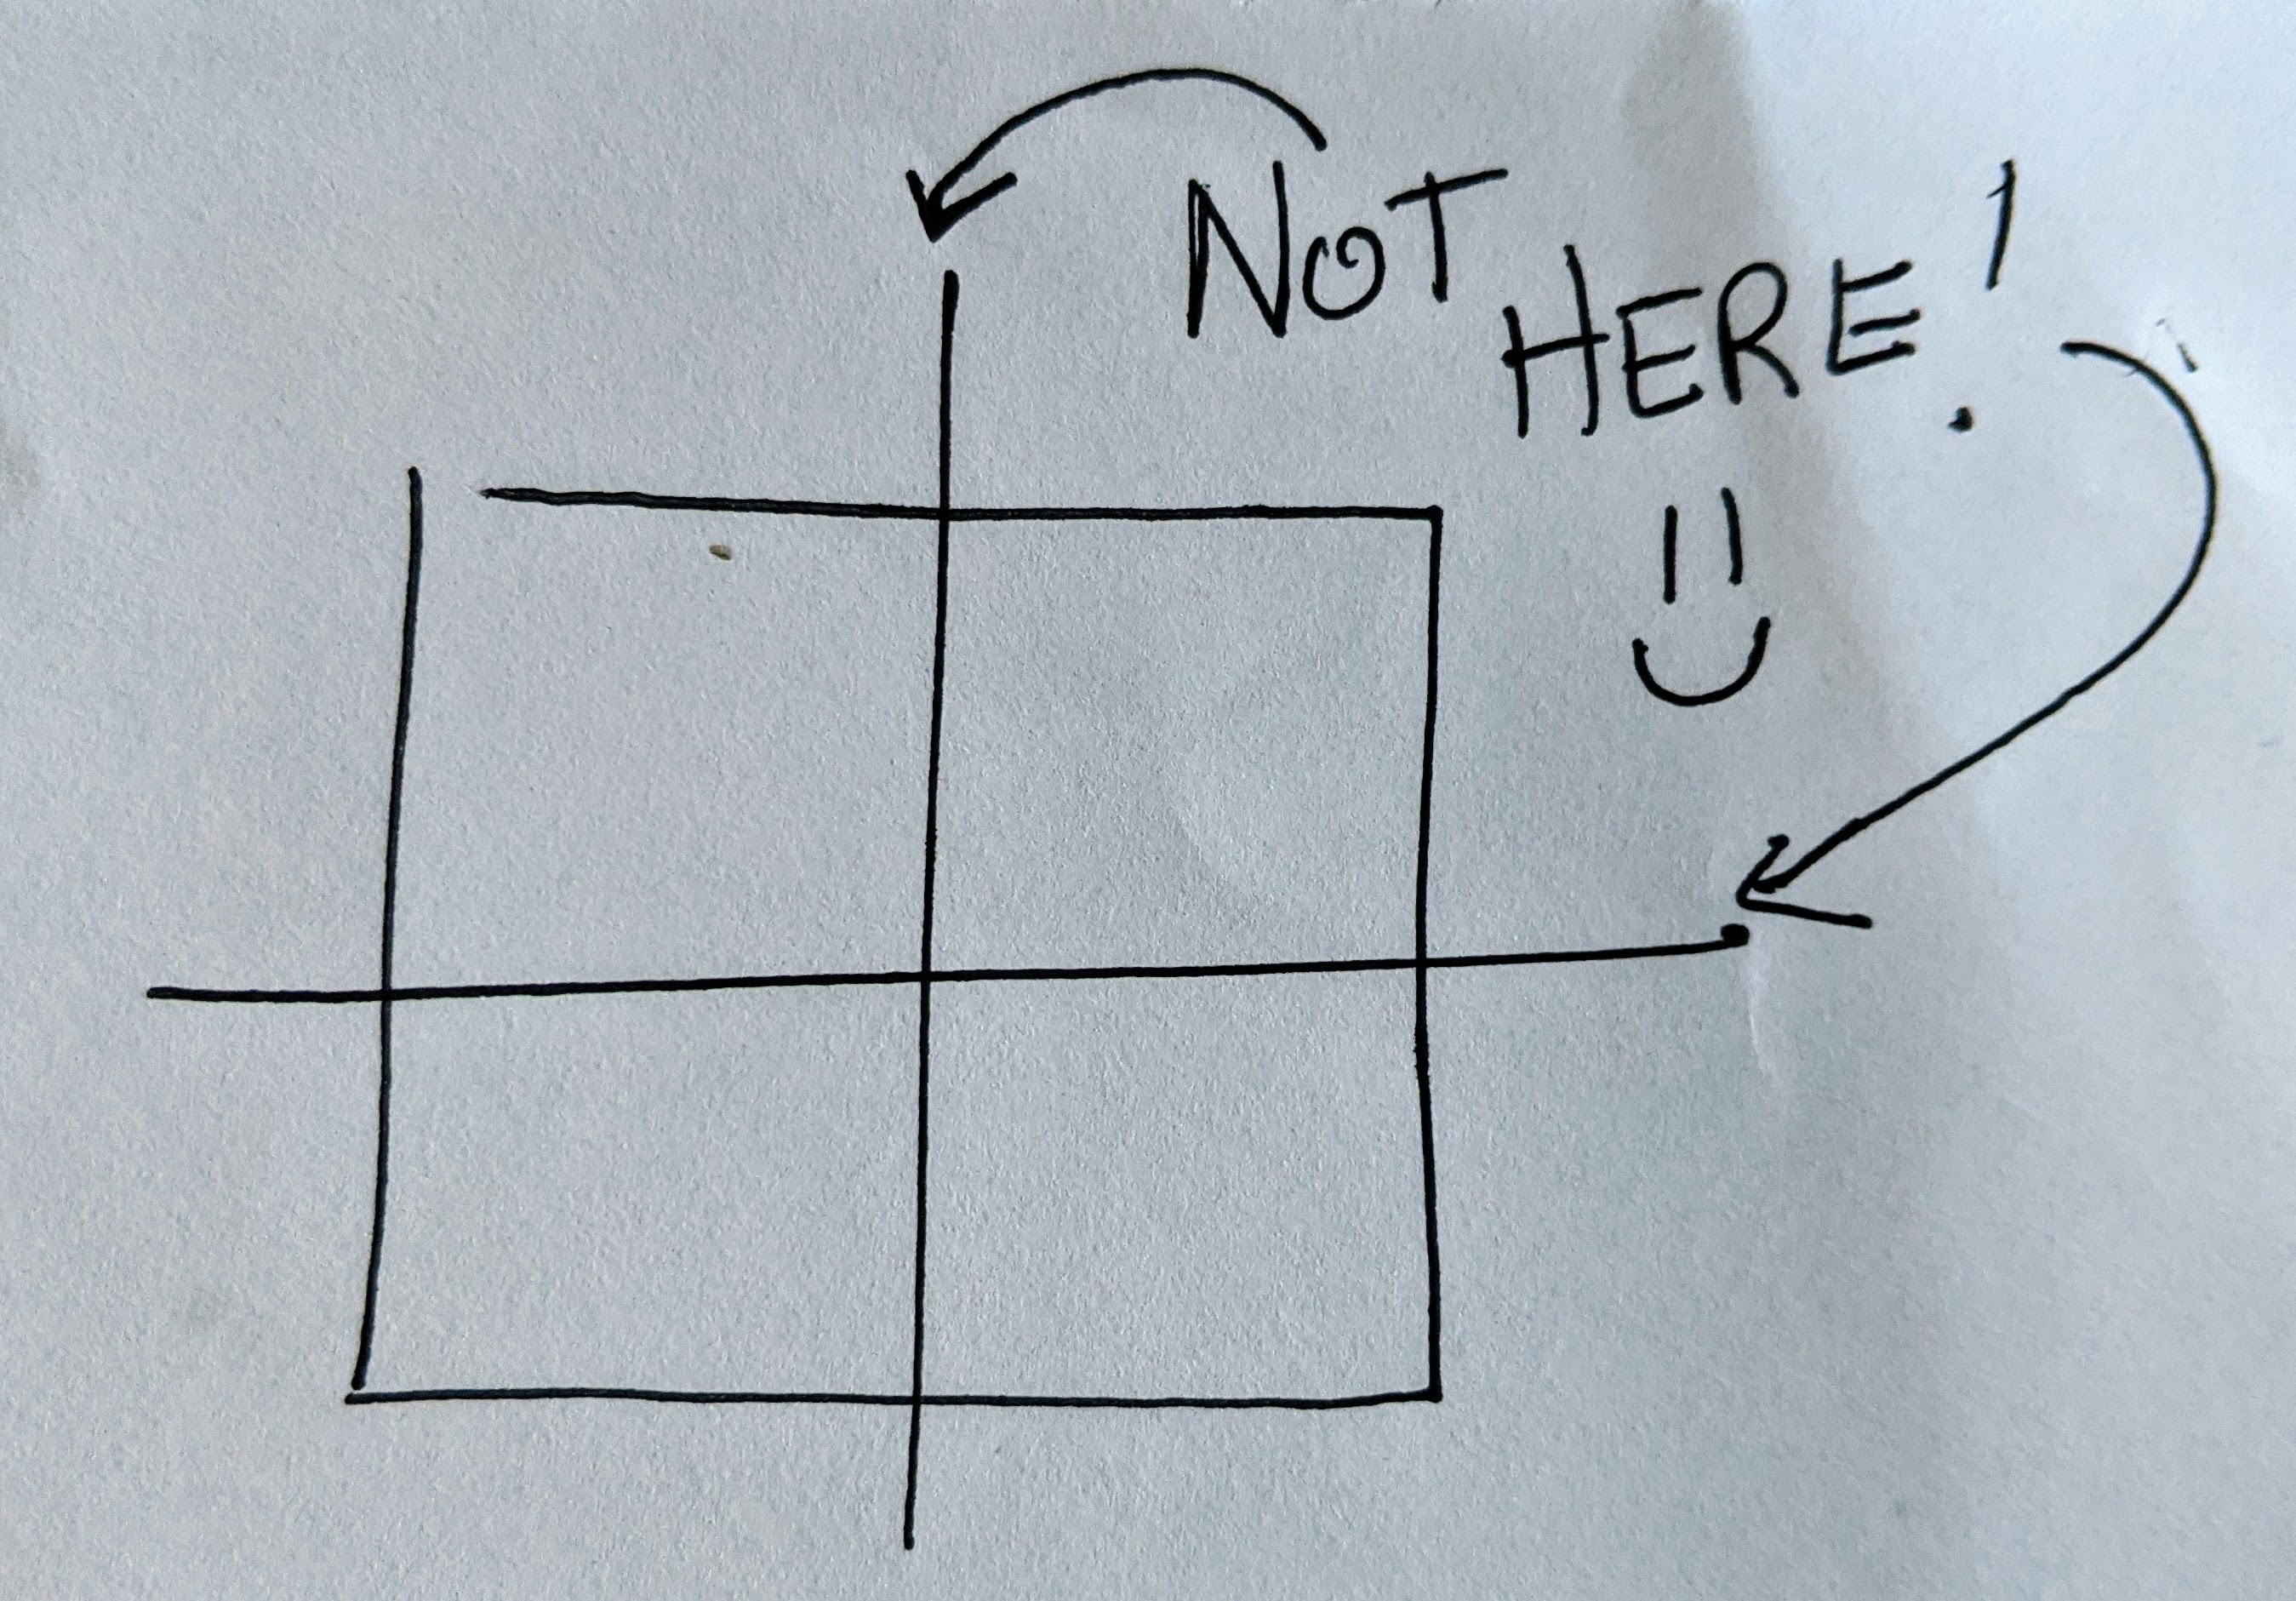
It’s called The Big X.
Rather than a target area to hit (that’s the Rule of Thirds approach), instead I imagine the two lines to avoid (the middle horizontal and vertical lines).
Oddly enough, the results are more or less the same, with a little less thinking, yay!
With The Big X, you simply want your center of interest to be anywhere other than dead-center. (Isn’t that ironic? It’s true though.) Avoid putting your focal point anywhere along those lines (also not at the far edges of your picture frame, of course!), and you’re good to go.
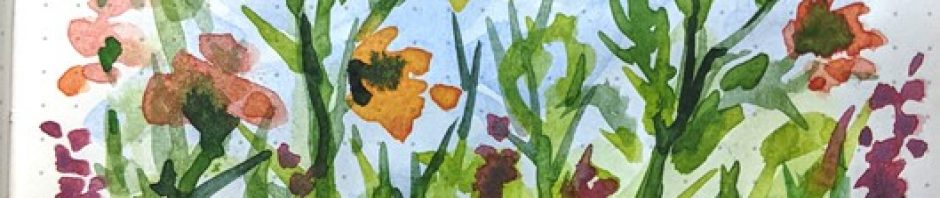
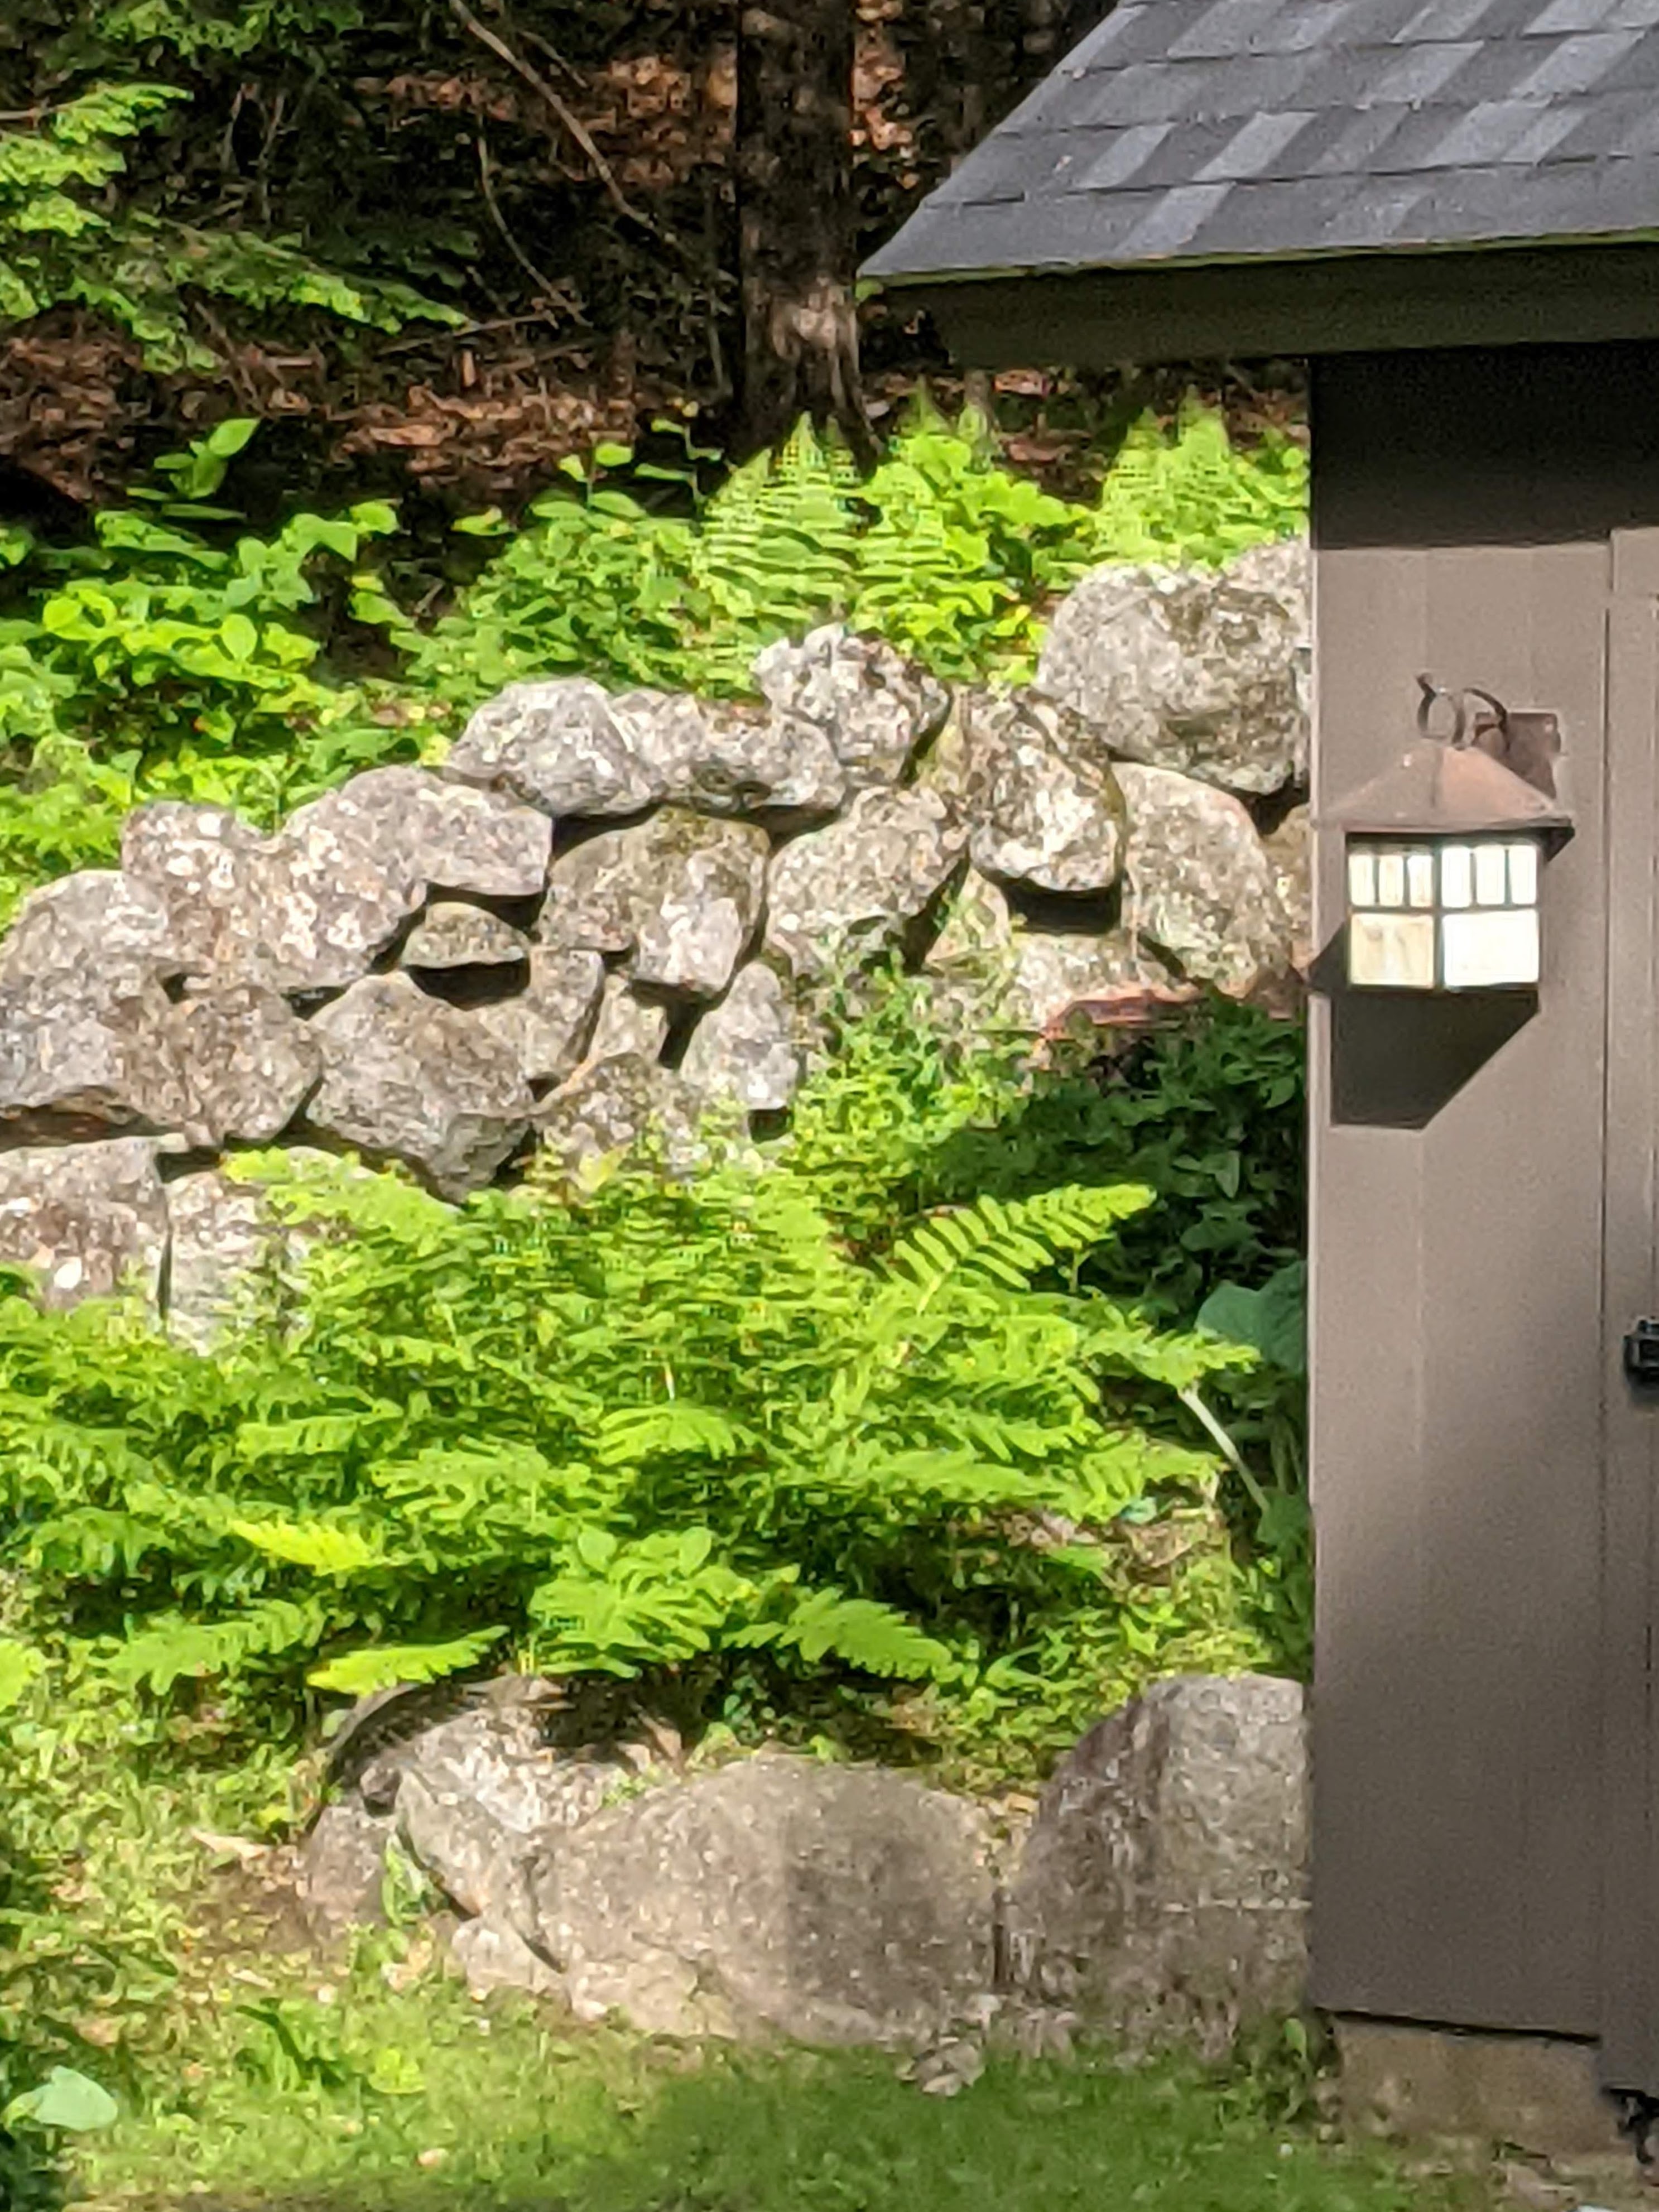
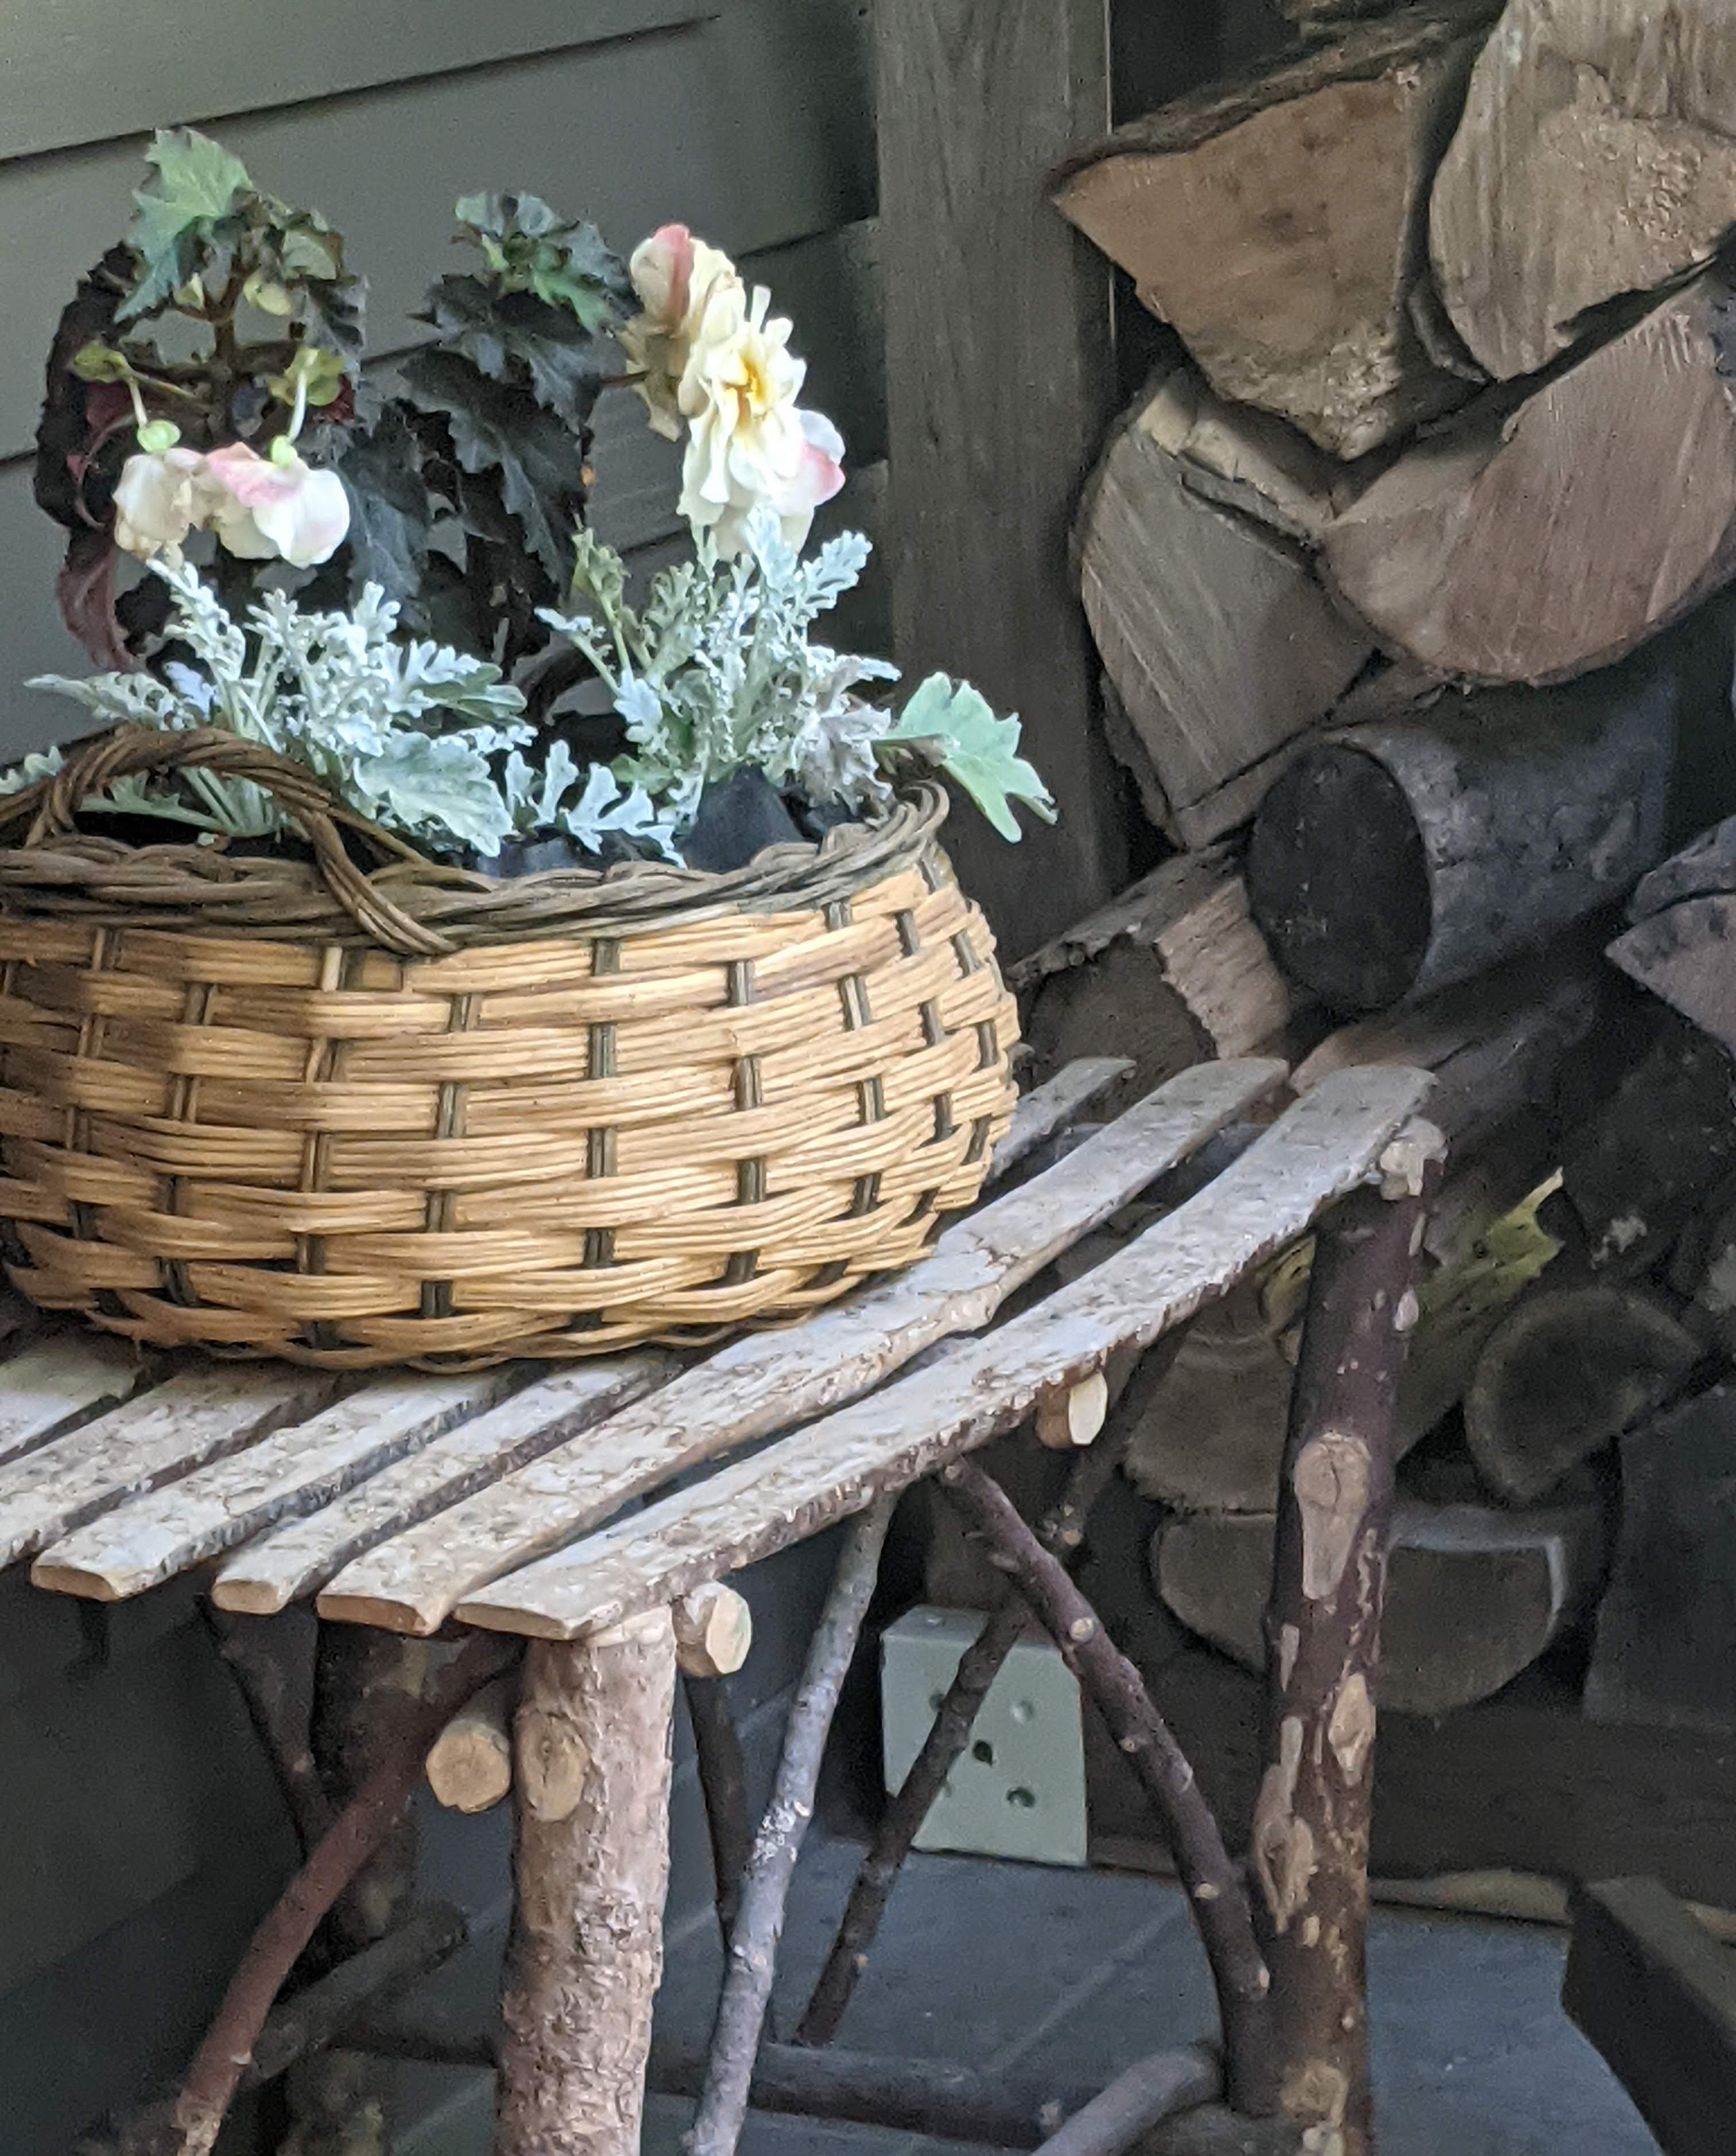
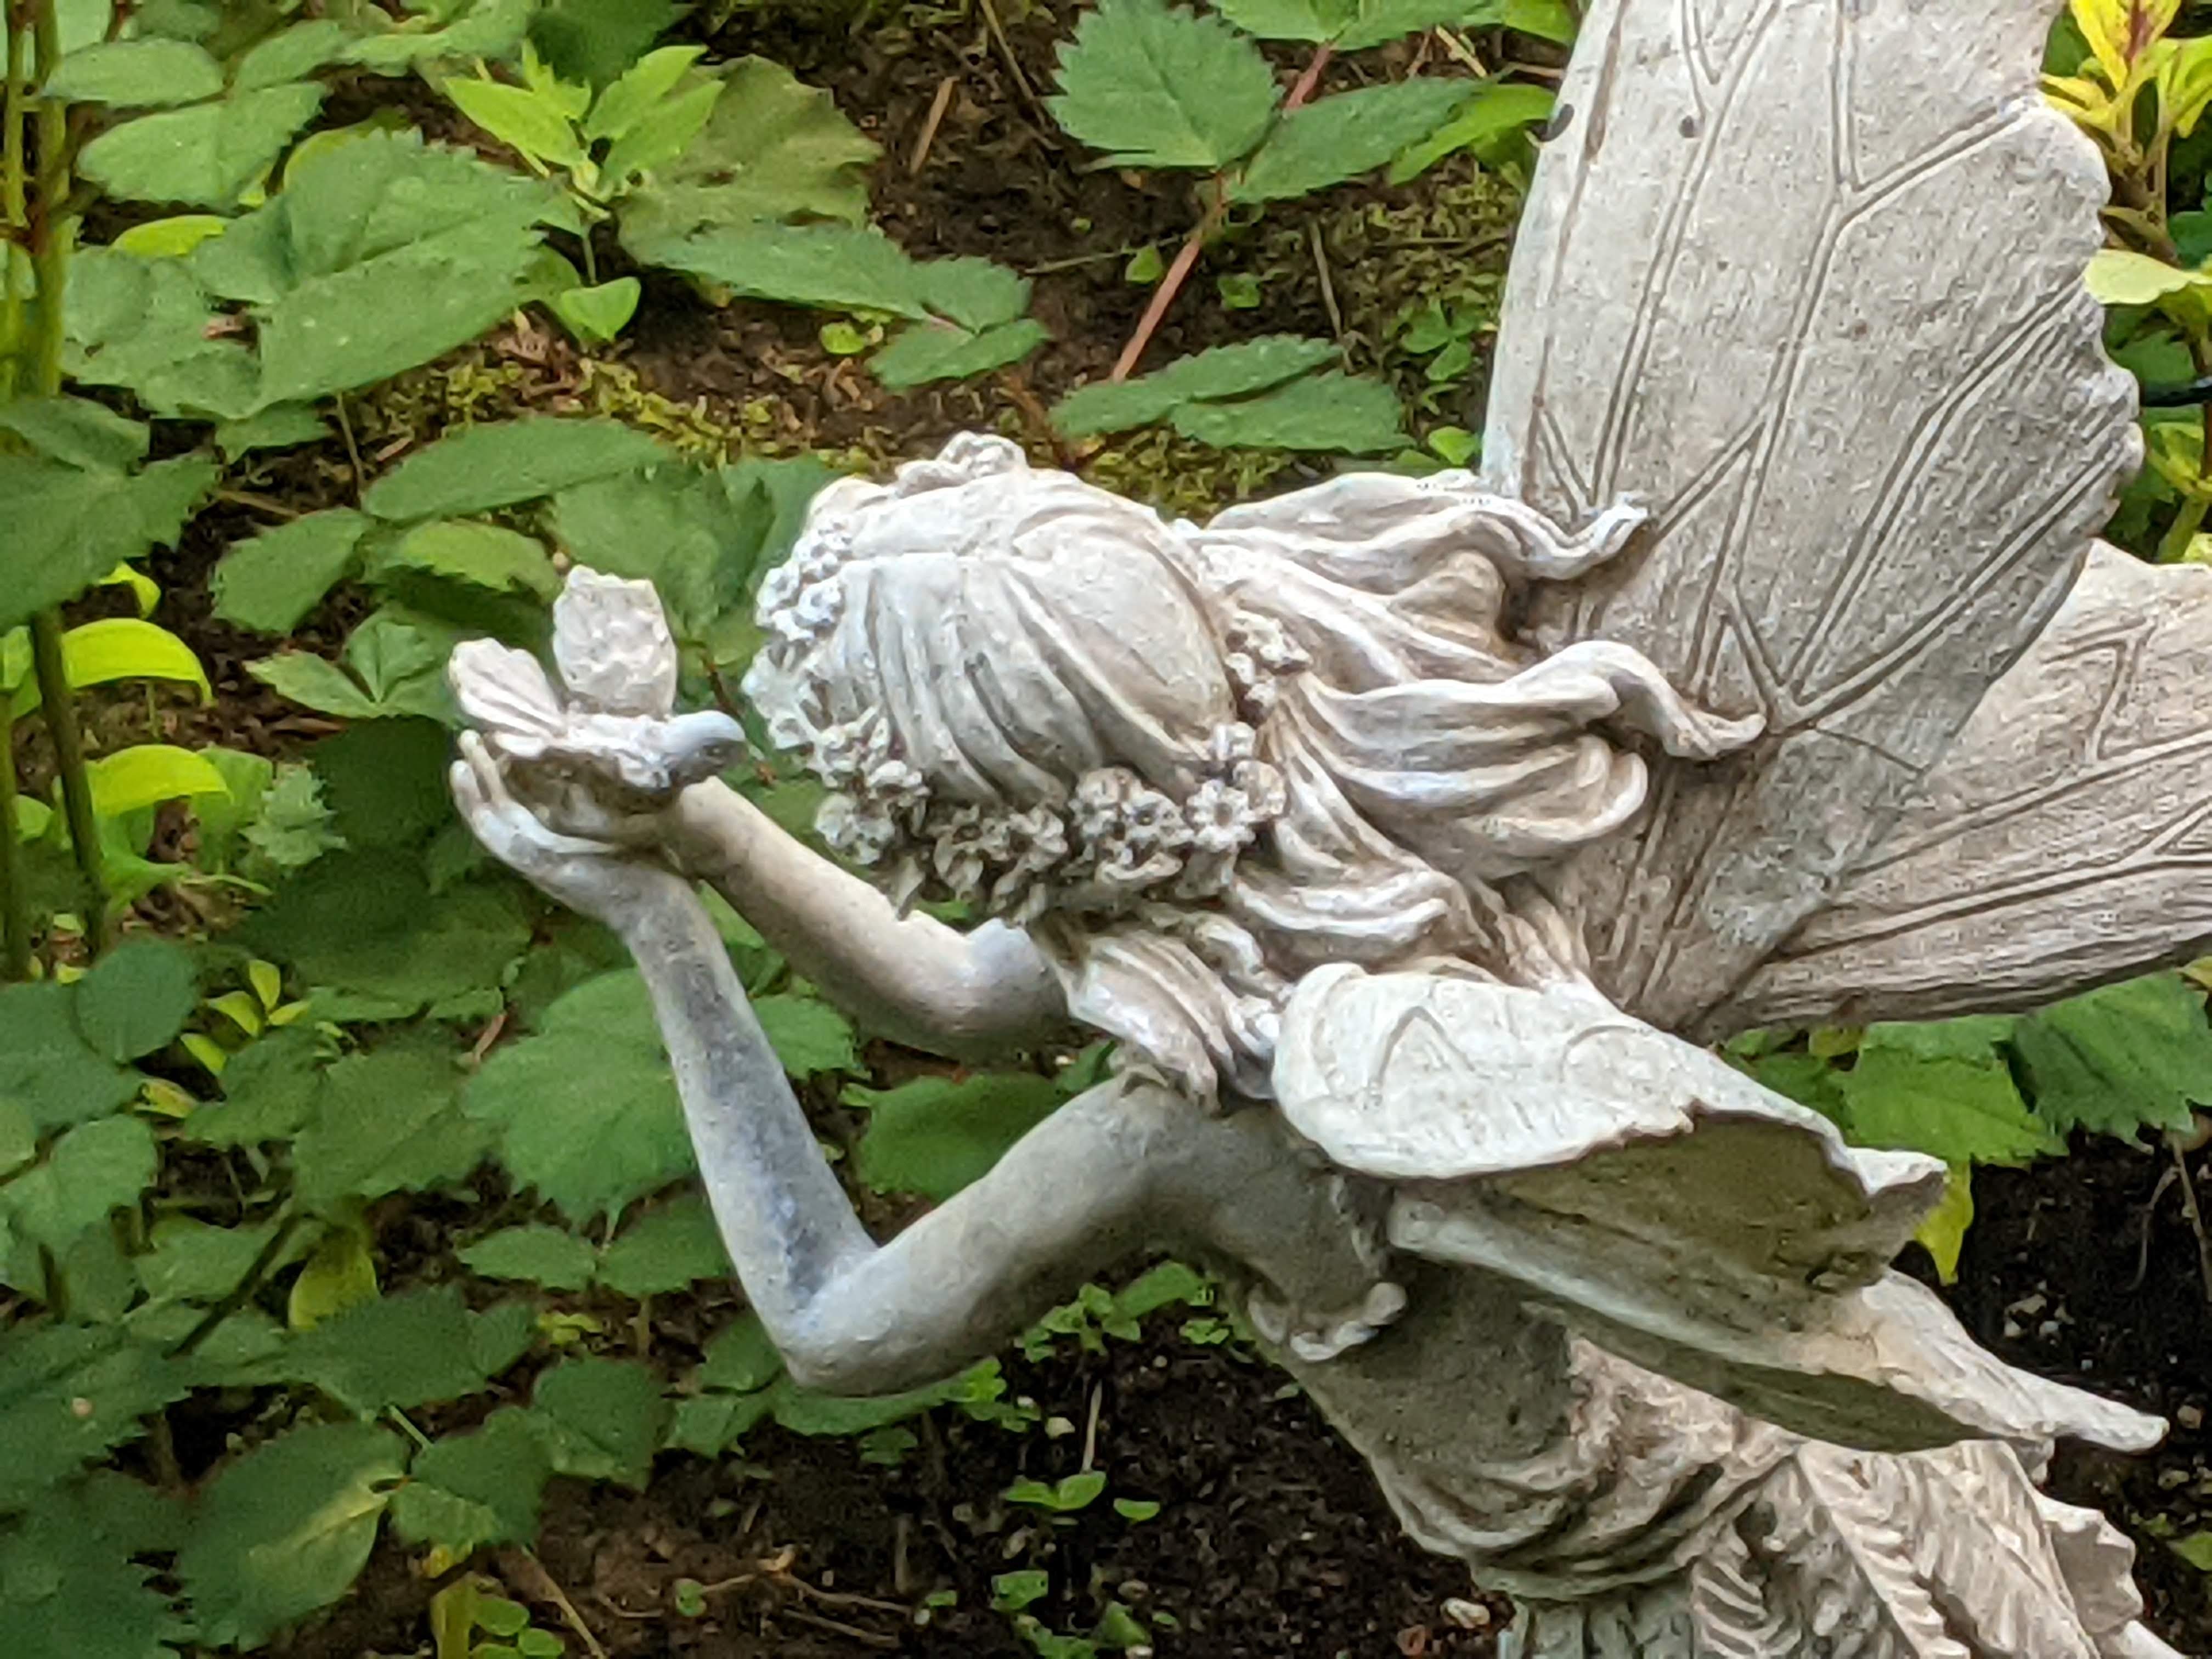
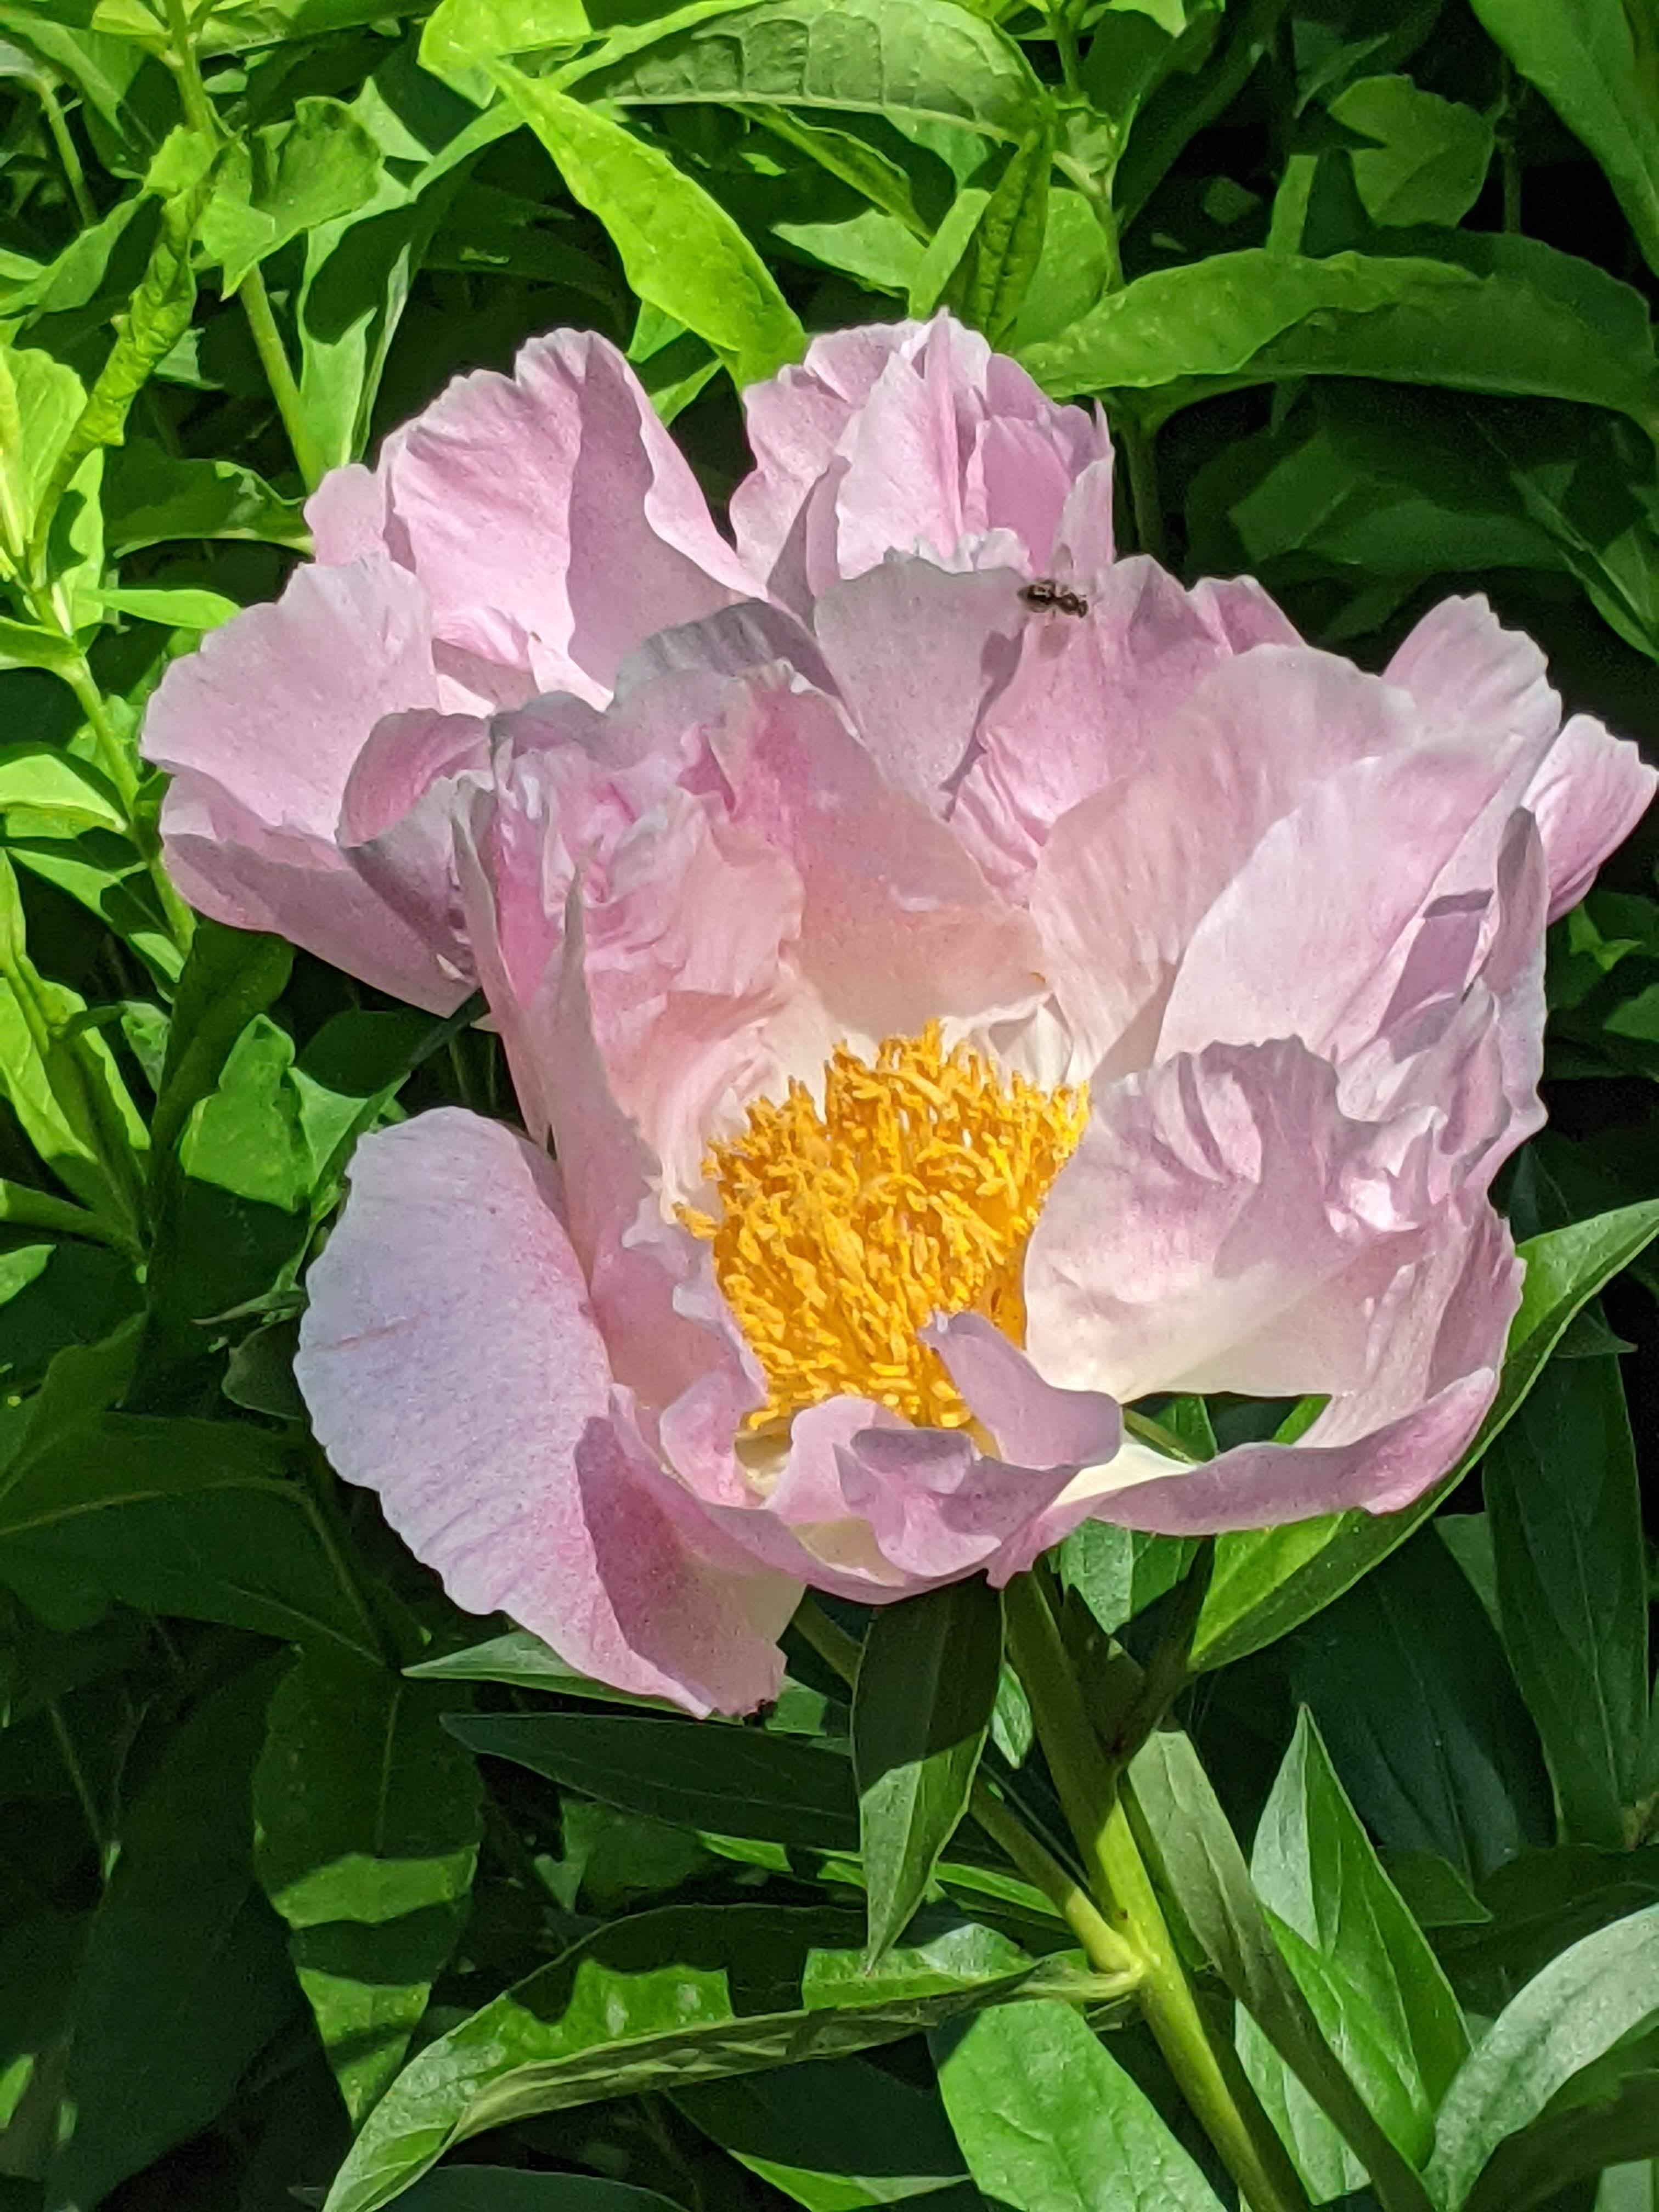
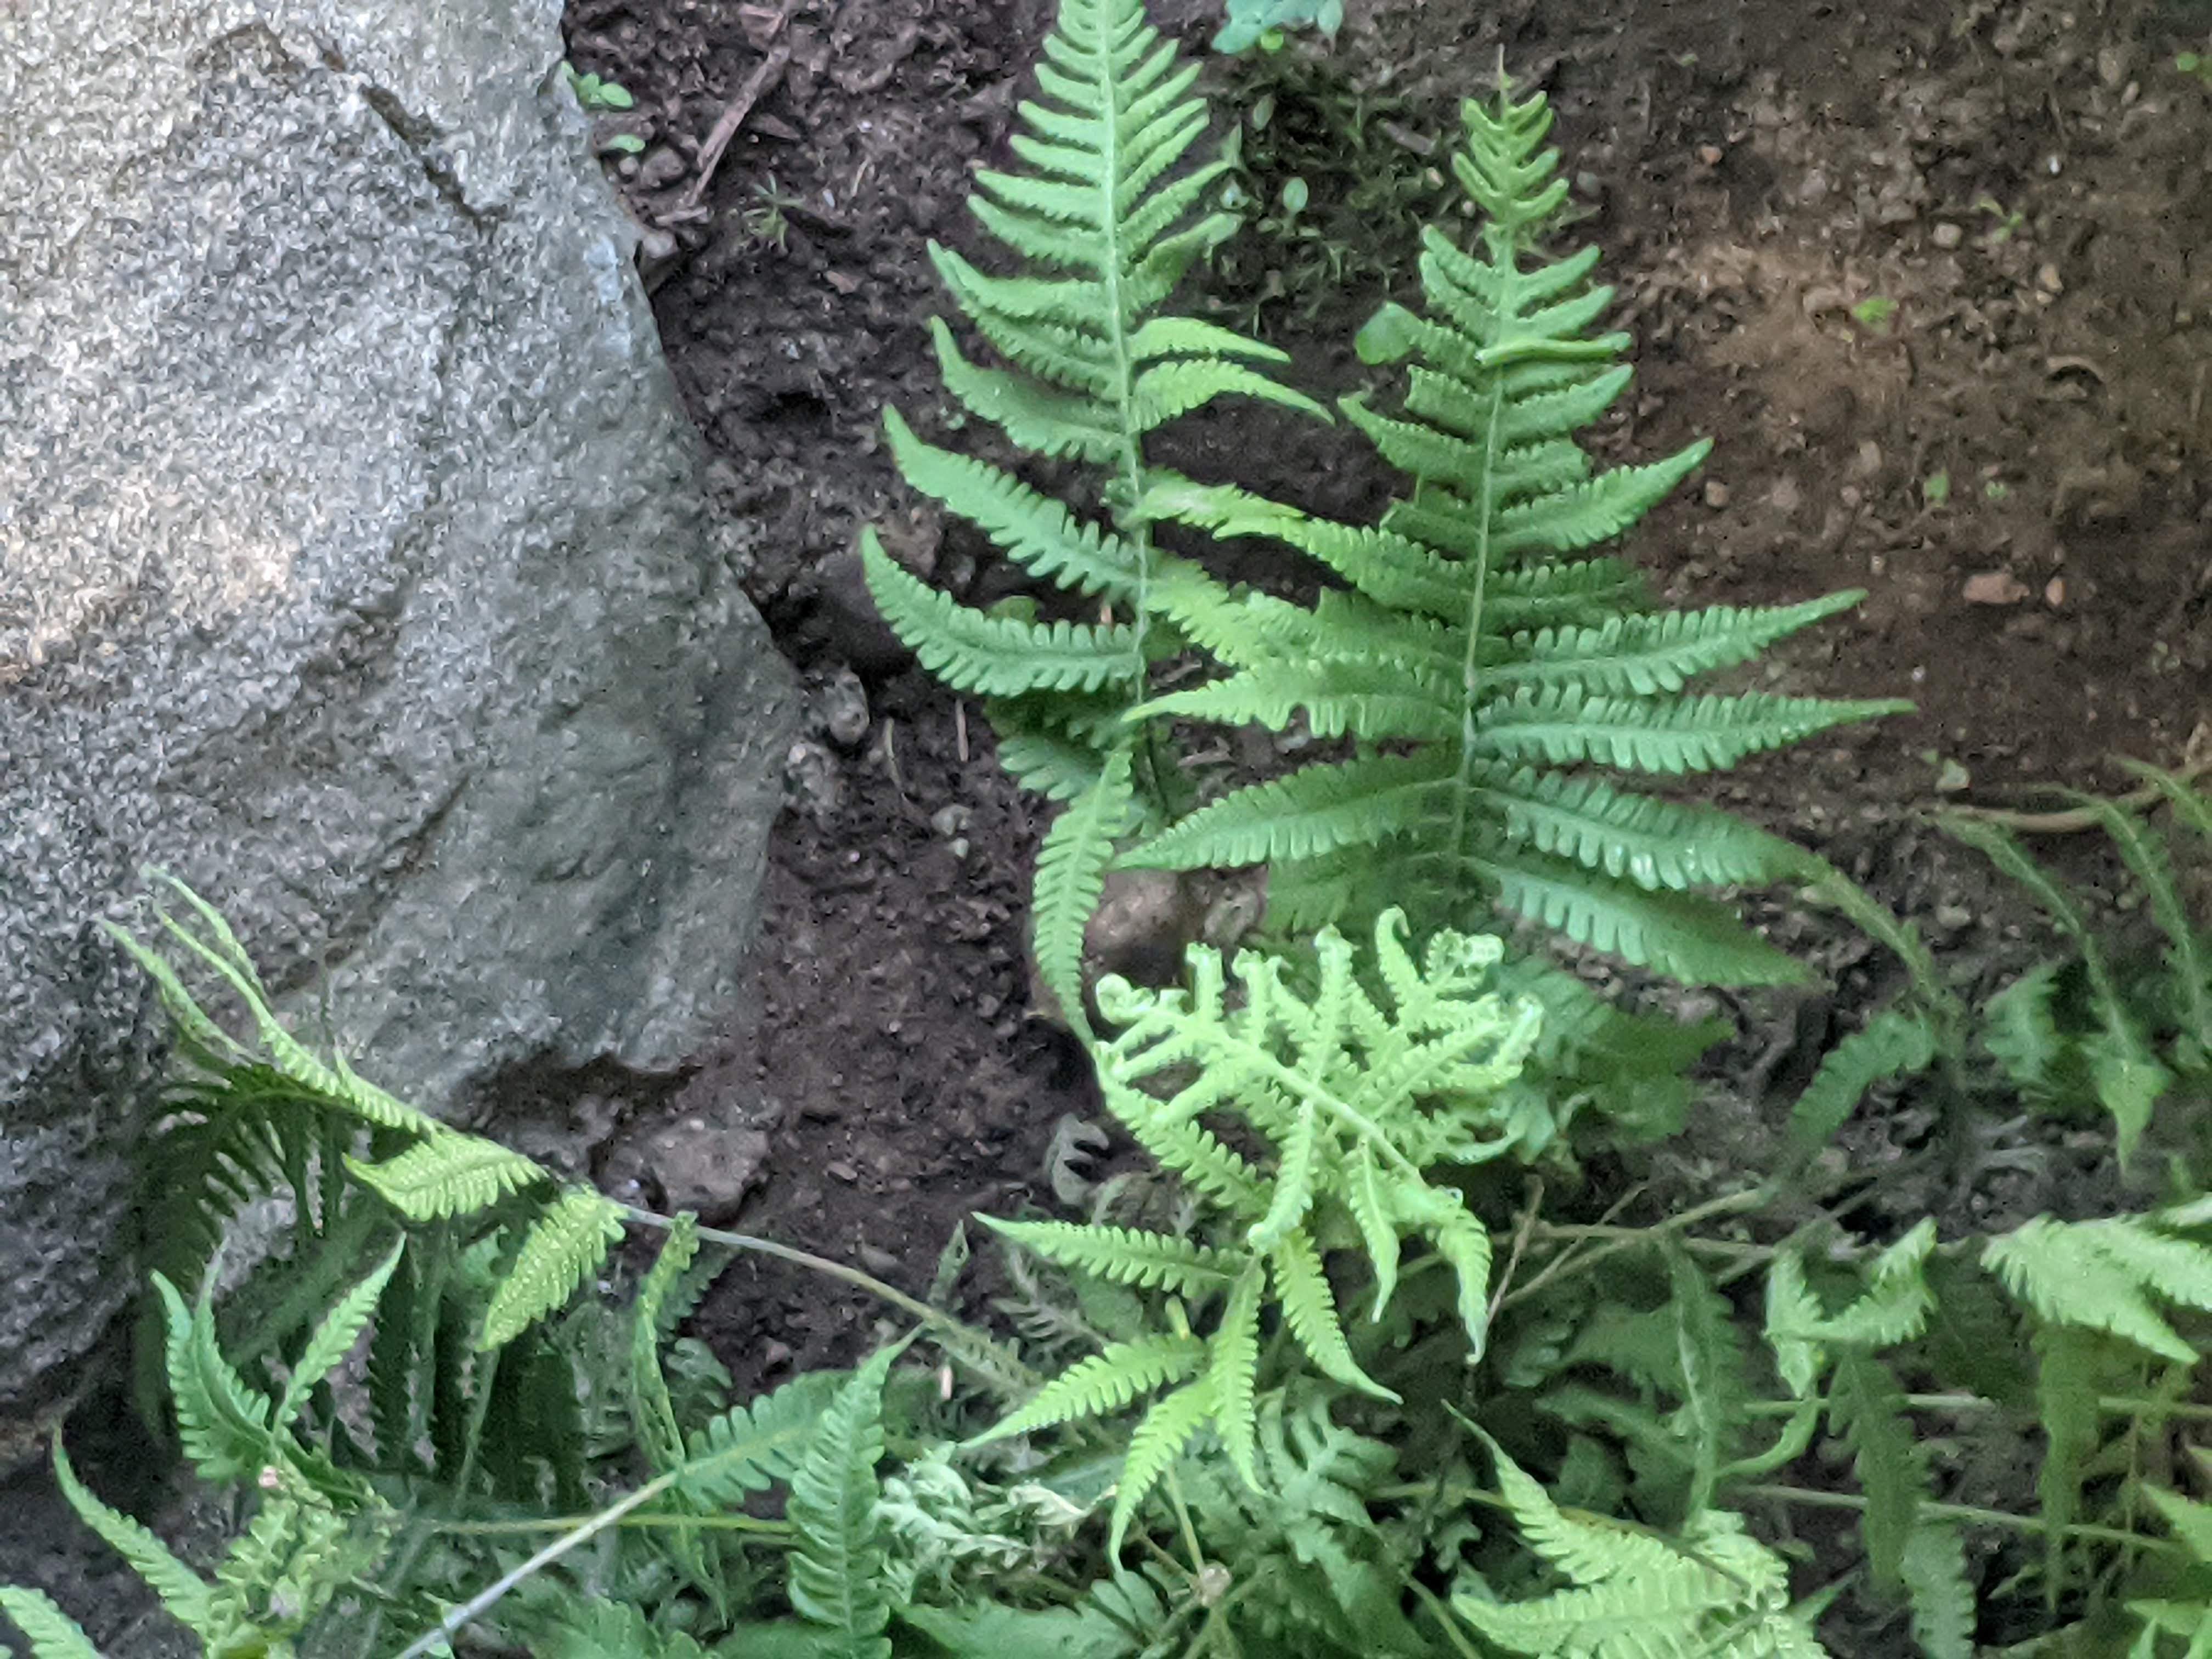
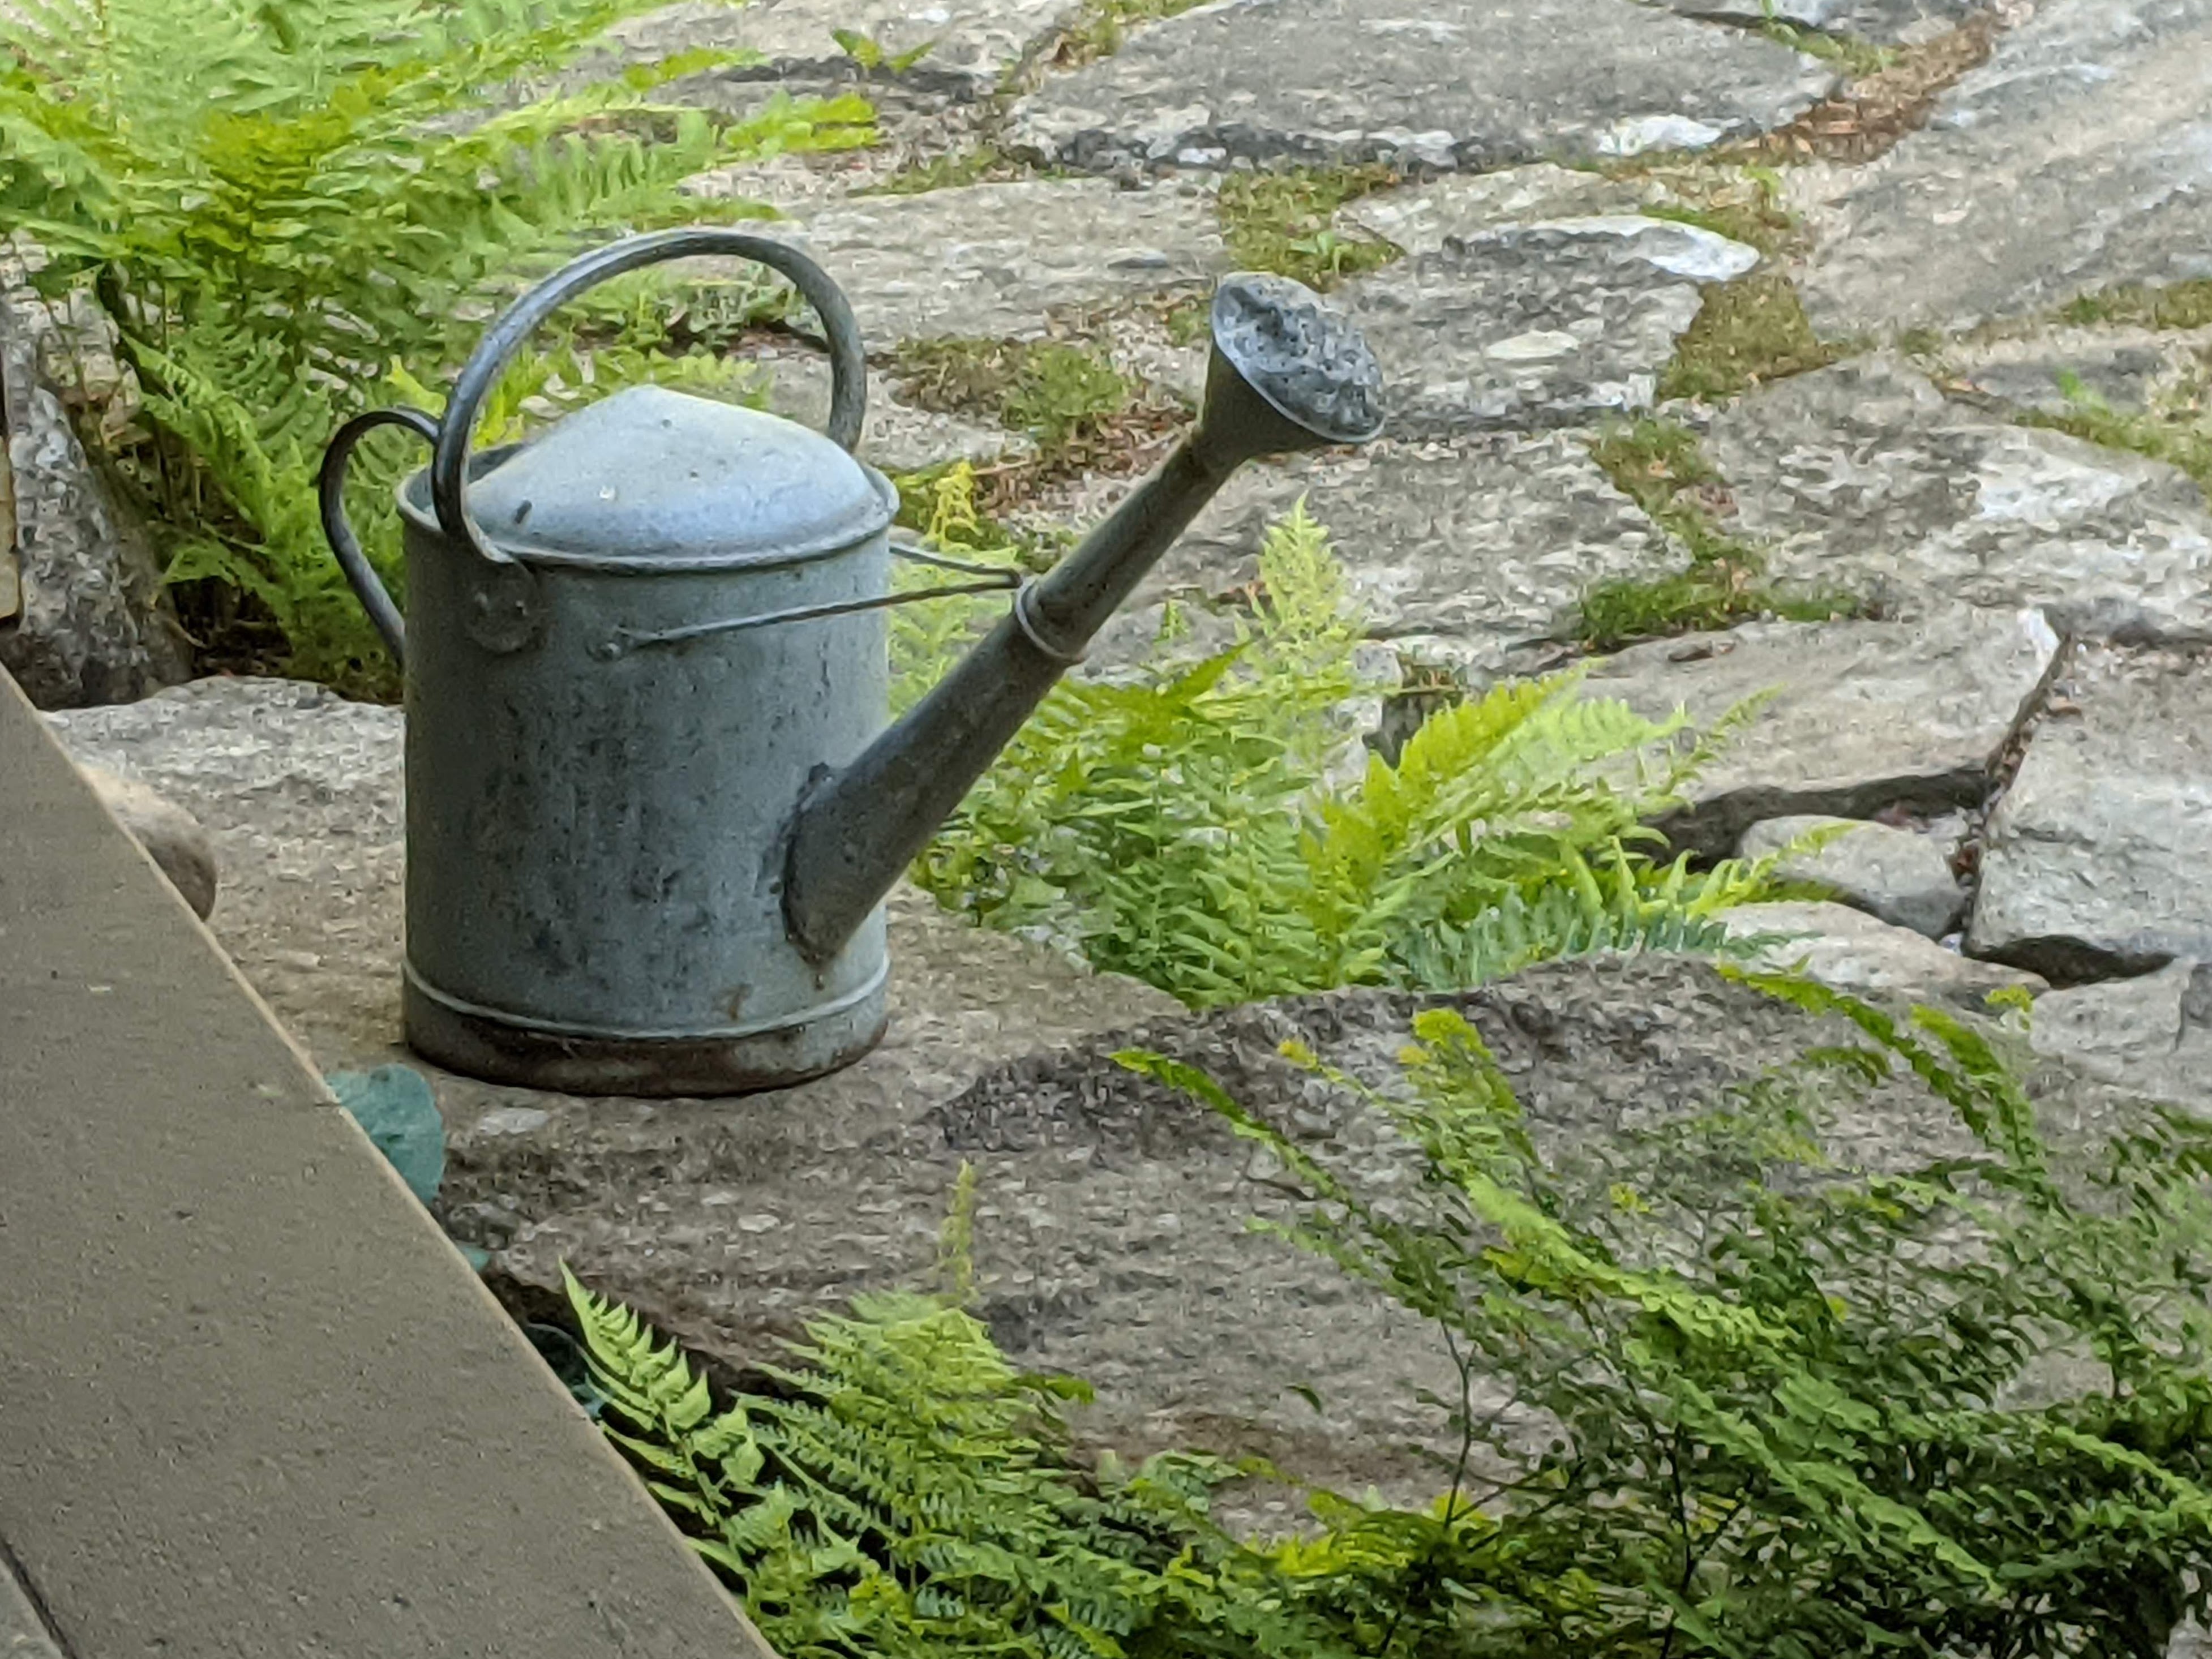
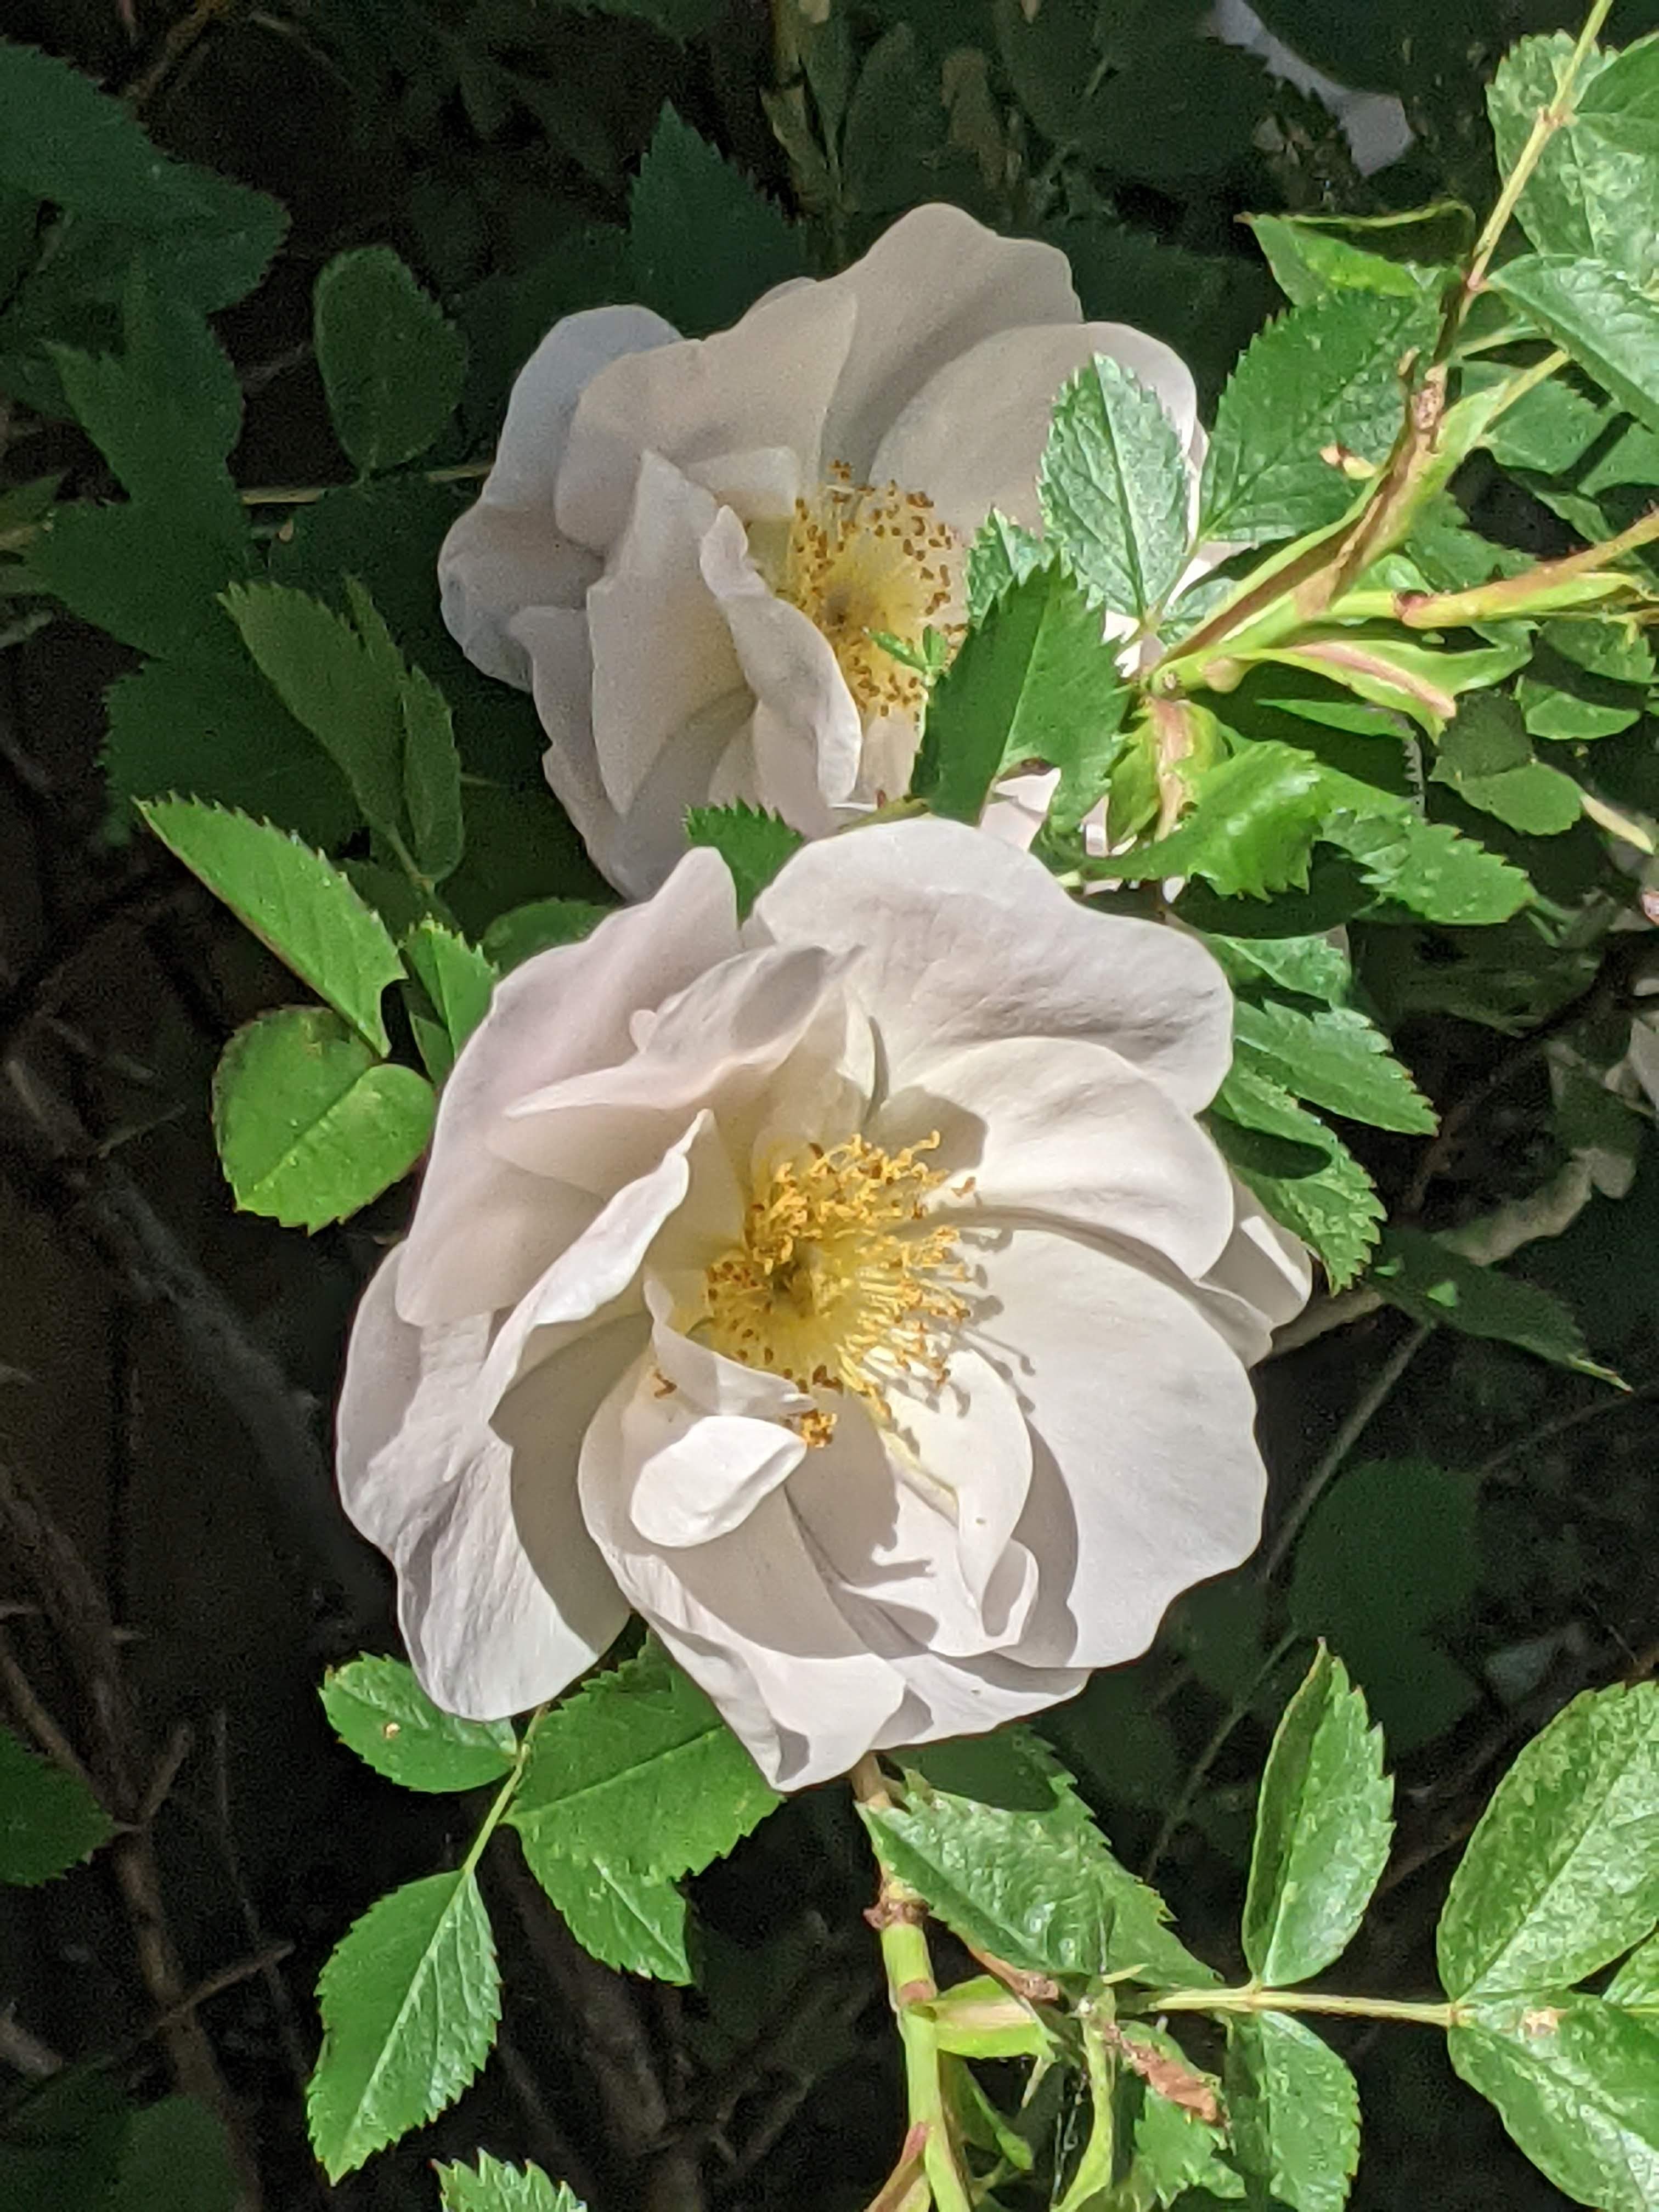
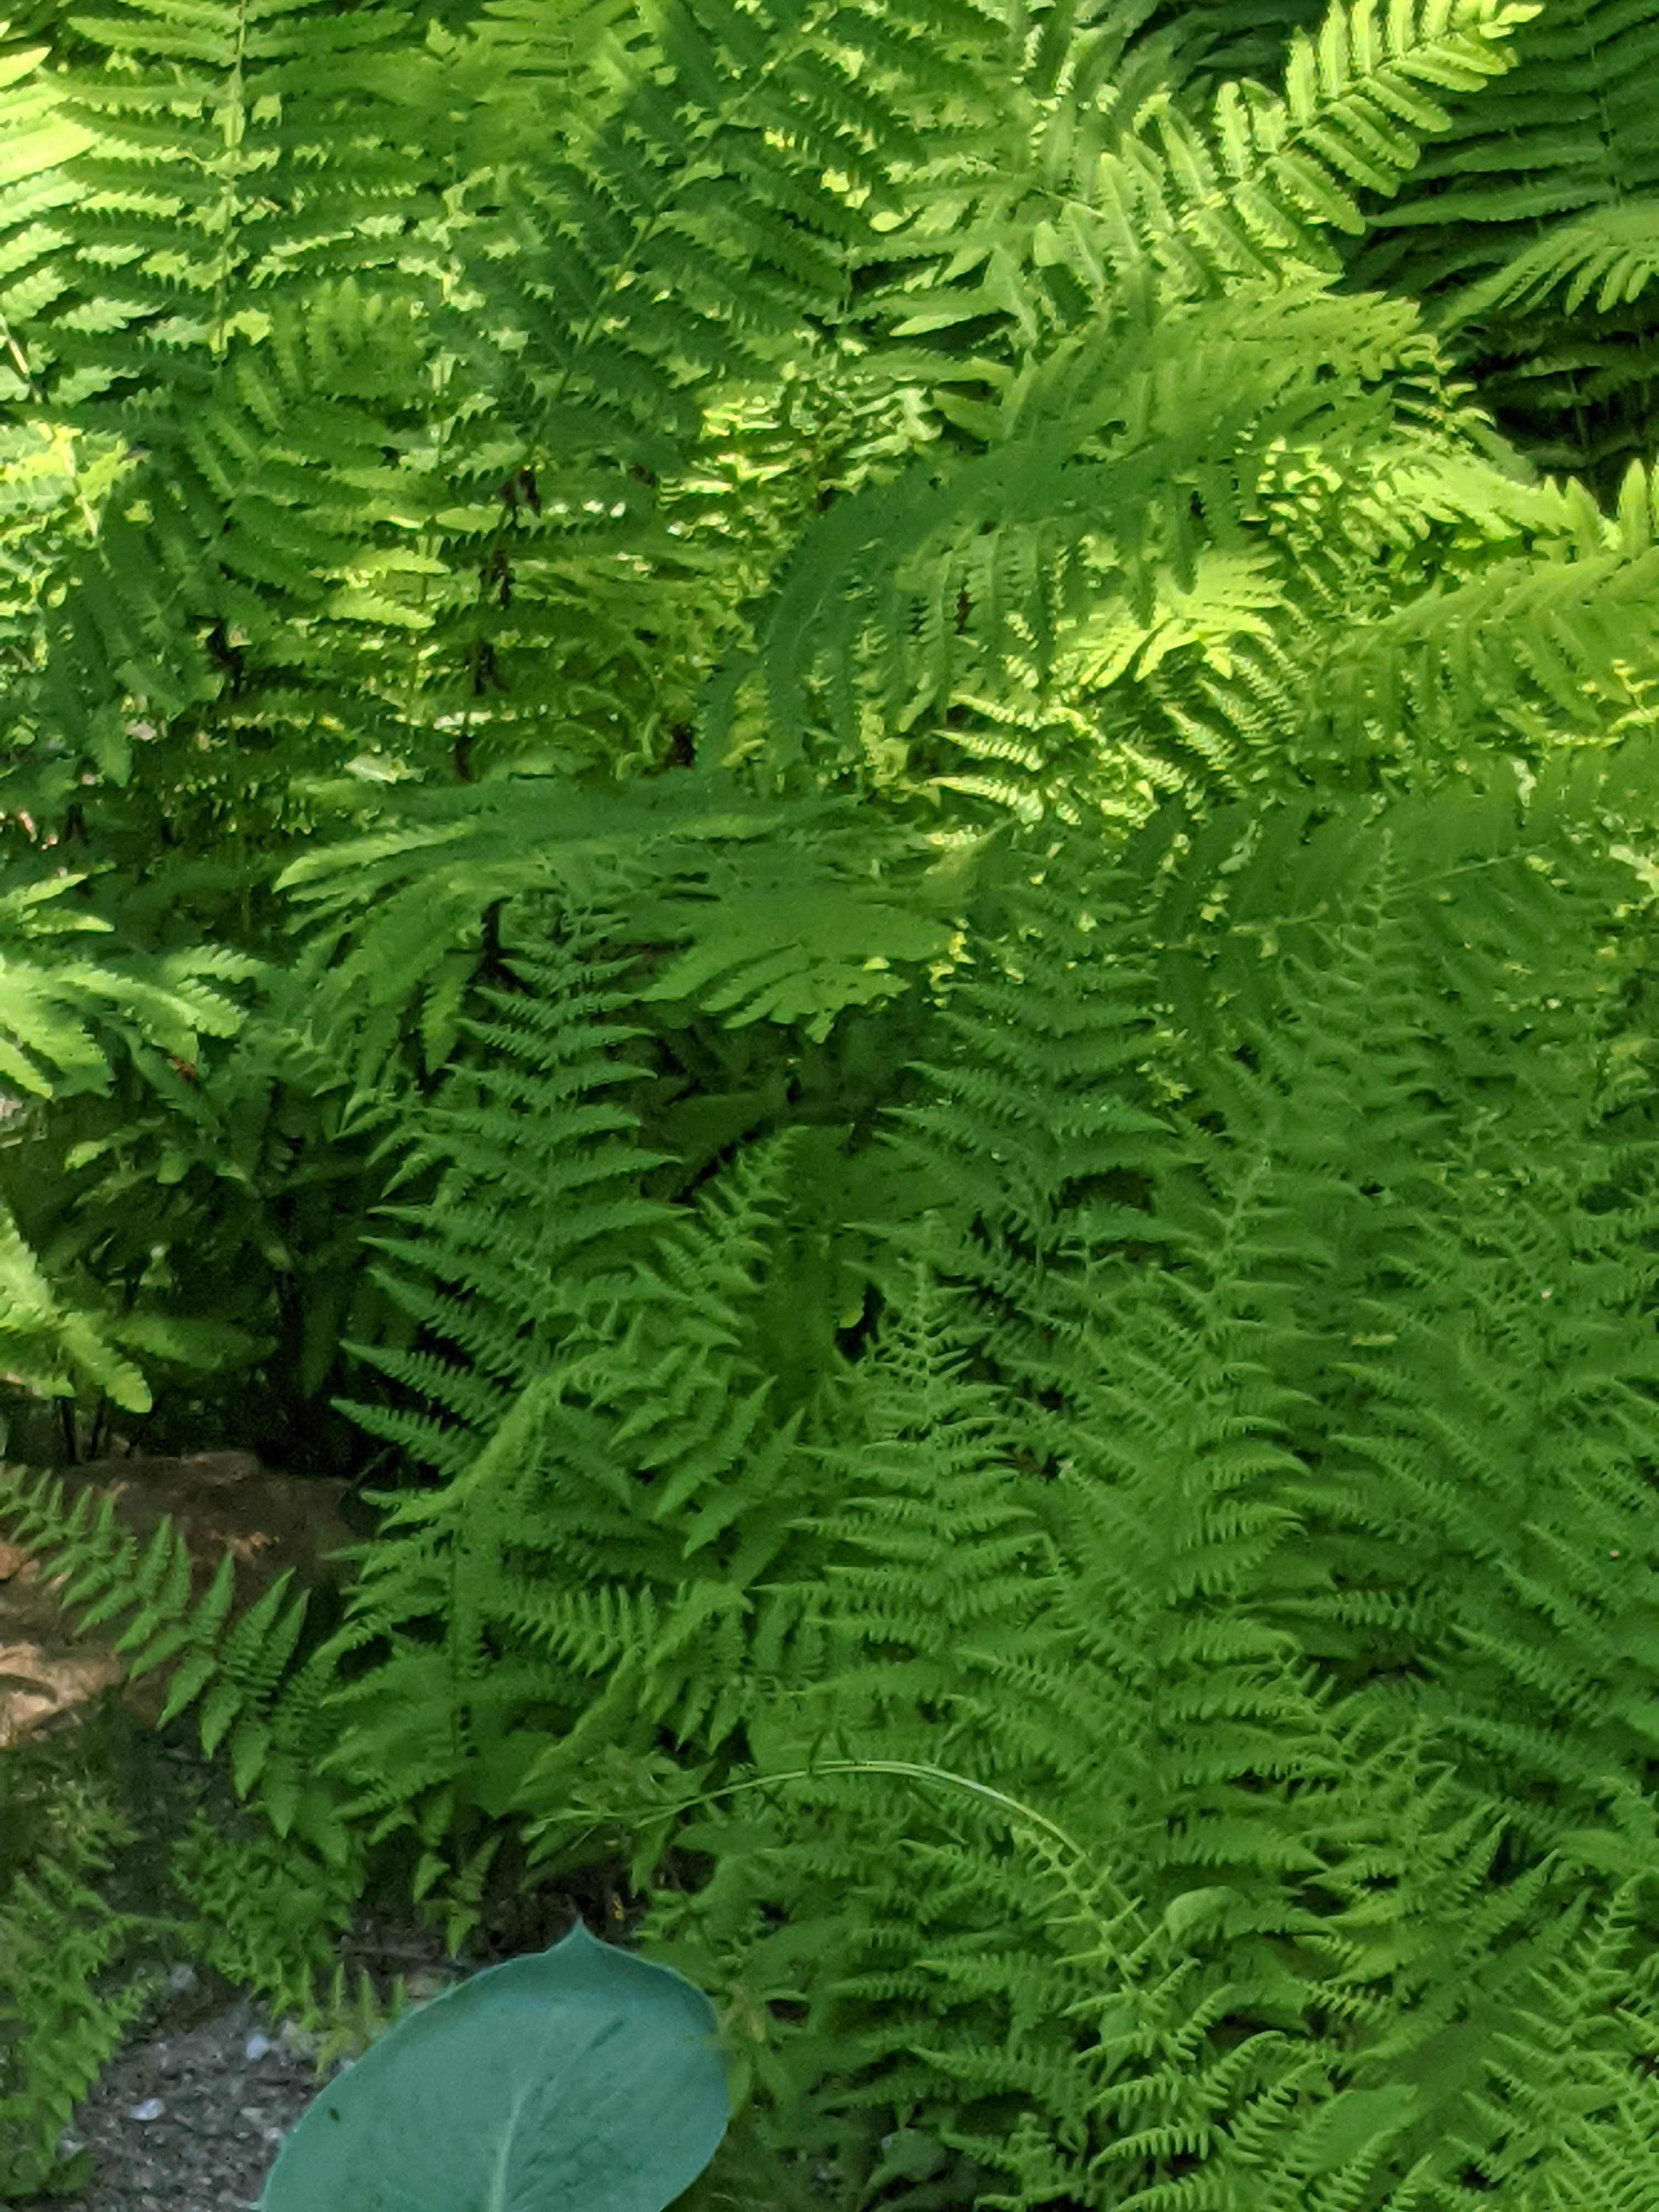
Here are a few photos from yesterday. I do love folks who garden.


If you don’t have time to sketch, or simply don’t feel like drawing at the moment, head outdoors with your smartphone or camera and take some pictures to see what you see. You’re still developing your artistic skills, simply by doing this.
Then later when you’re having your cup of tea, play with them. Try zooming in and out. Try radical cropping so you get a tall sliver of an image or a long low profile in great detail. See how different the same image looks, and even feels, when you do all that. Remember to use the “save a copy” function instead of simply saving, so you have a whole collection to enjoy later.
Most of all remember: All the art training you will ever need was installed as original equipment the day you were born. It’s called gut instinct. You already know what you like.
And when all the instructions and should-oughtas about composition and design and “I’m not artistic” finally quiet down in your head, the rest is smooth sailing. Your outdoors photo collection will be a gorgeous resource for those inclement weather days when you feel like sketching but it’s too yucky to go outdoors. You will have a photo garden right at your fingertips, any time you like.
Happy playing!
P.S: I still may not have answered that reader’s question, so here goes.
Why use a view-finder? You look through it when you’re stuck, to simplify the scene.
Peek through it, zoom in, zoom out, go vertical then horizontal, move a little left, a little right, until you see a frame-worthy image in that little window. Then rather than clicking the shutter (because you’re holding a little piece of paper, not a camera!), simply take another minute to give the image a good long stare. You’ve just made friends with your location. You did the big decision making with your eyes, not your brain, good job! Here’s a link to another post I did about using view-finders— to see first, draw second, if at all! Enjoy simply looking and seeing!

Martin/Leslie, by “Facebook Group”, I was referring to “Look at That! Sketchbok Adventure Club” btw… my own page has more jokes and less art! 🙂
LikeLiked by 1 person
I’ve been meaning to learn to draw and keep a sketch book for many years; having made several false starts. I stumbled across your book on Kindle Unlimited last week. I read through it one night before bed. I’m 61 y.o. and inspired to be an artist now. I ordered a physical copy of your book and some supplies on Amazon. I also ordered your LookAtThat art pouch and art tool kit off Etsy.
The stuff from Amazon was delivered to day. I’m getting up early tomorrow to start working on my sketchbook! Sketchbook Launch Time T – 10 hours. I’m also going back and reading your website from the start. Thanks for the inspiration!
LikeLiked by 1 person
Leslie, thank you so much for your kind, generous words, and may I say, YES! I am so excited for you. I had great fun packaging up your Art Pouch (sent to “Martin”) and hope you will enjoy hypnotic, addictive gazing time during many days to come. I also hope to see you in the Facebook group soon! Best of luck!
LikeLike
Thanks. I’m Martin at work. In the real world, I’m Leslie. 😀 I quit FB, but I’ll look at your page there.
LikeLiked by 1 person
Good morning Bobbie,
I was that reader 🙂 and this was a WONDERFUL blog response; you completely nailed the answer. And not only that but the pictures filled me with inspiration and HOPE that I can improve my “seeing” what I want to paint.
Thanks for taking the time to help those of us who are a bit creatively challenged. Tonya
>
LikeLiked by 1 person
So glad it was “illuminating”! I am madly in love with Seeing— so drawing and painting and sketching are just compulsive responses to, “Wow, look at that [shadow, shape, color, etc.], isn’t it amazing?!”
LikeLike
Thank you for the wonderful article. I’m such a sketching newbie that many things seem overwhelming. Your explanation helped clarify things a bit. Love your Big X guideline.
LikeLiked by 1 person
When you get hooked on seeing, the drawing is just a fun response. You’re well on your way, Joanna!
LikeLiked by 1 person