First, why bother?
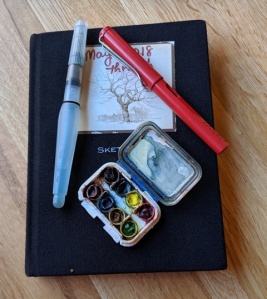
“But I don’t want to carry a lot of supplies with me all the time…”
And we’re off! Lesson One Begins.
Step 1: 
Step 2:
Step 3:
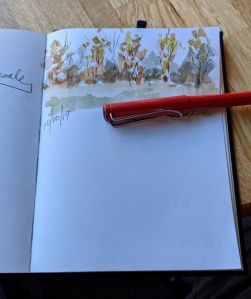
Heavy Lifting. Now you get to build a stone wall, all by yourself as you sit in your comfy chair. First, lightly draw a horizontal line and then draw a series of wonky circles on top of the line, each circle touching the one next to it but not overlapping. (Remember to vary the amount of pressure you use, you’ll get an interesting line that way.) After you have finished your first row, you can start stacking the next row of boulders, wonky shaped yet again, but in a way so that they fit together, somewhat, with the row below. Much easier to demonstrate than describe in writing.
Step 4:
This is the really fun part, but you need just one more piece of equipment. Any small watercolor brush dipped in water will do, but in a real pinch you might try a cotton swab that you have dipped in water and pinched into a bit of a point. Now, look at the stone wall you built with the water-soluble pen. Think of where the shadows would be: along the bottom of the rocks and along the ground. Now gently touch the lower edge of each rock with the very tip of your brush or q-tip, and see what happens.  Voila #2, you have created the illusion of depth, of three dimensions. Add a few blades of grass (i.e. pen flicks) in front of your stone wall, along the ground, and you have created your first utterly credible spontaneous drawing without even intending to do so!
So here’s the P.A.U.S.E.
Pay Attention: When you sit down to sketch, do yourself a favor and spend as long as you like simply sitting with your sketchbook in your lap, just scanning your surroundings and waiting to see what makes you smile. Then…
Use Space: Zero in, zoom in, so your subject matter is something you can wrap your arms around. I mean literally. No panoramas because you’ll get lost. How about a carrot. Or a piece of lettuce. Or curly kale if you really want to get wacky. Avoid man-made, symmetrical objects like a vase or a coffee mug because your Inner Critic will have a field day. Organic things are much more forgiving, and if you pick a fruit or vegetable, when you are finished drawing you can ‘kill the model’ and have it for dinner so no one is the wiser. And finally, by far the most important instruction is…
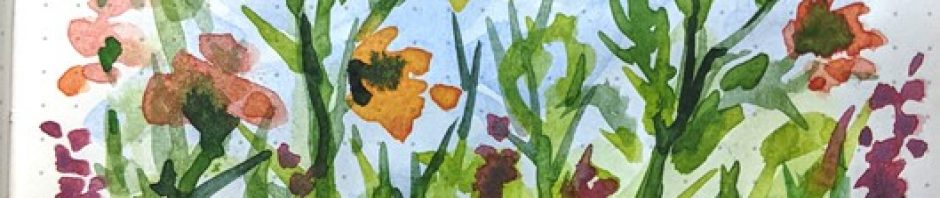
Enjoy. That is the one and only reason to do this. Who needs another way to pick on oneself? Nobody I know. Your sketchbook is a place to explore what your eyes are enjoying. You will discover that whereas photographers just look at the scenes in front of them, you, lucky you, get to look at that AND watch as a brand new, never-existed-before image is developing before your very eyes. It is your Line Dance of the Day. You get to watch your pen dance across the page, make some moves on its own that came as a shock to you, and you get to love it all. There are no warts, just beauty.
And tomorrow we get to P.A.U.S.E. all over again. Lucky us, right??
Pay Attention. Use Space. Enjoy. 

Inspiration!
LikeLike
Bobbie this is pure gold. The “nice and wobbly lines” the little flicks, the wobbly circles, a little water – bingo! Totally believable dry-stone wall at the edge of a field on a sunny day. And all those people who believed they couldn’t draw are staring wide-eyed and smiling at their sketchbook murmuring, “Well Look At That!”. 😀 Nailed it. 😊👍🏻🏆👩🏼🎨👩🏻🎓
LikeLiked by 1 person
Yay, Judy…this is just what I did at Wisley. 🥰 It’s the coffee and the oatmeal raisin cookie at my favorite cafe that make writing so easy sometimes. Glad you liked it.
LikeLike