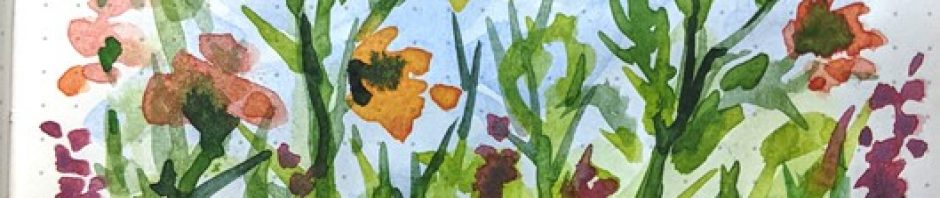
Create a Bead, then guide it for juicy, brush-mark-free painting success.
So many beginners will try to paint with watercolors the same way they would with other paints, like acrylics or oils. Their watercolor paintings end up looking dry and overworked in no time, and the artist is left baffled, asking, “What am I doing wrong?”
The problem, oddly enough, is that you are overlooking the very nature, and the magical power, of your main ingredient: WATER.
Because water behaves like, hmm, water, we need to befriend one more tool, Gravity. Let’s begin treating GRAVITY like a powerful invisible brush. This simple additional skillset will automatically reduce your chances of overworking your paintings.
The most successful watercolors have very few visible brush marks; the skilled artist achieves a smooth, integrated effect by manipulating the paint on the paper only when there is enough water to carry the pigment. This way, the brush marks blend and vanish beautifully.
It’s time to befriend the water itself, letting the water carry the pigment around the paper. Let the pigment float as much as possible, using your brush tip and gravity for coaxing, not pushing. That way, your brush will act like an invitation, instead of a bully.
Tip your sketchbook up a bit
If you’re sitting at a table, prop up your sketchbook at a slight angle, with a small towel or another book behind it, just enough so your colored water runs downhill. You are about to use Gravity as a tool.
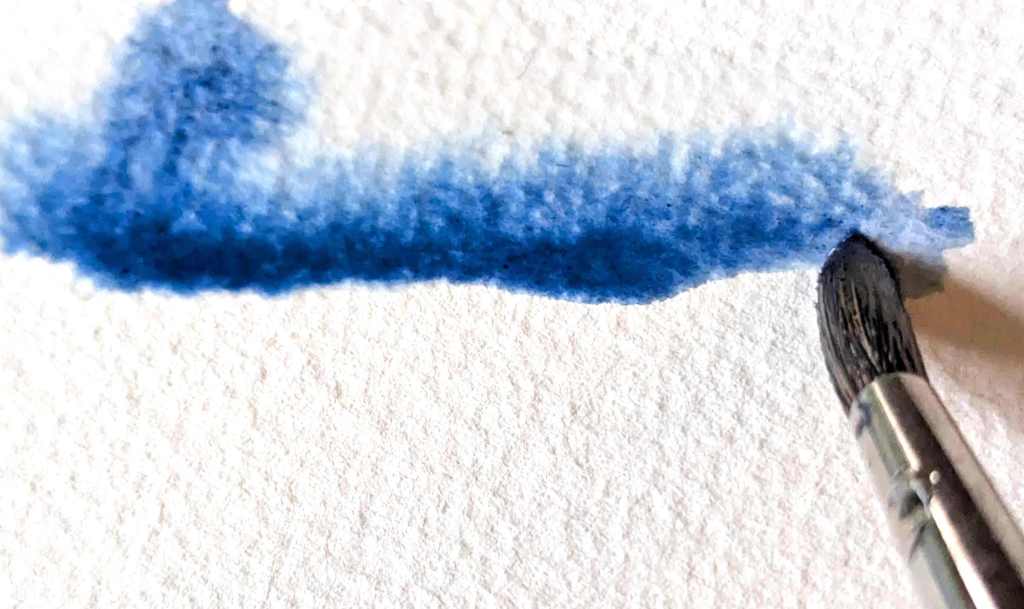
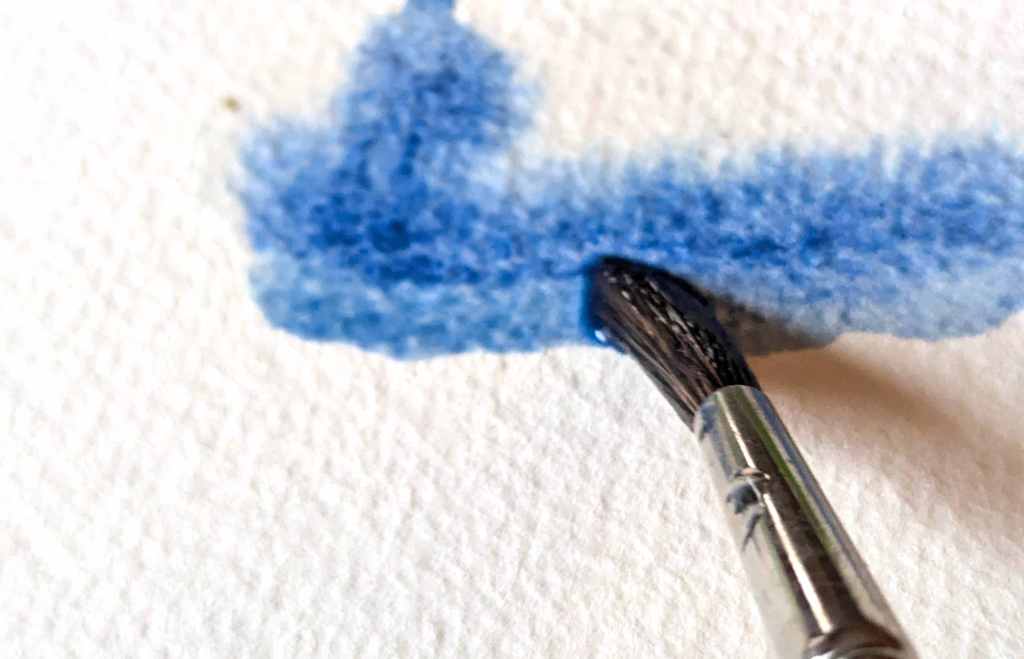
Let’s practice by creating a smooth flat wash over a small area. Make sure you have plenty of paint premixed, then load your #8, #10, or #12 round brush as full as possible by rolling and dipping the whole belly of the brush into your mix. Make sure your first swipe (about 2 inches wide) is made with a very full brush, releasing all the paint-water in a steady horizontal line by leaning the whole brush-belly onto the paper. This will leave a horizontal bead along the bottom of the stroke, thanks to gravity.
Before that bead has had any time to dry, reload your brush quickly and come back across in the other direction, with the full belly of your brush touching the dry paper below, but only the tip of your brush tickling the very bottom of that initial elongated bead.
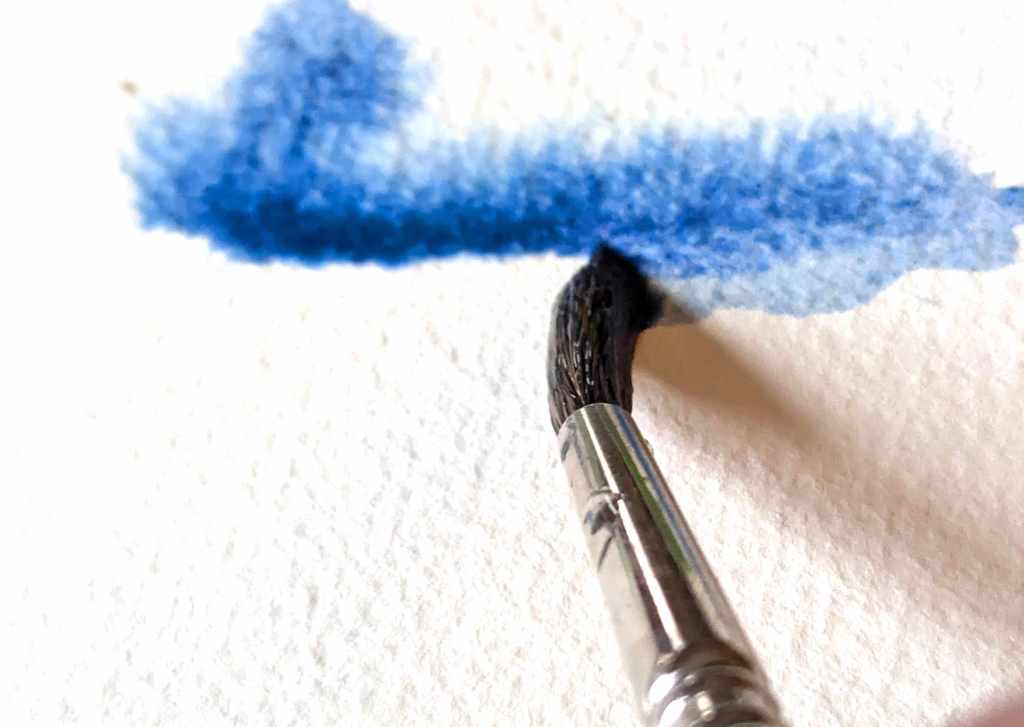
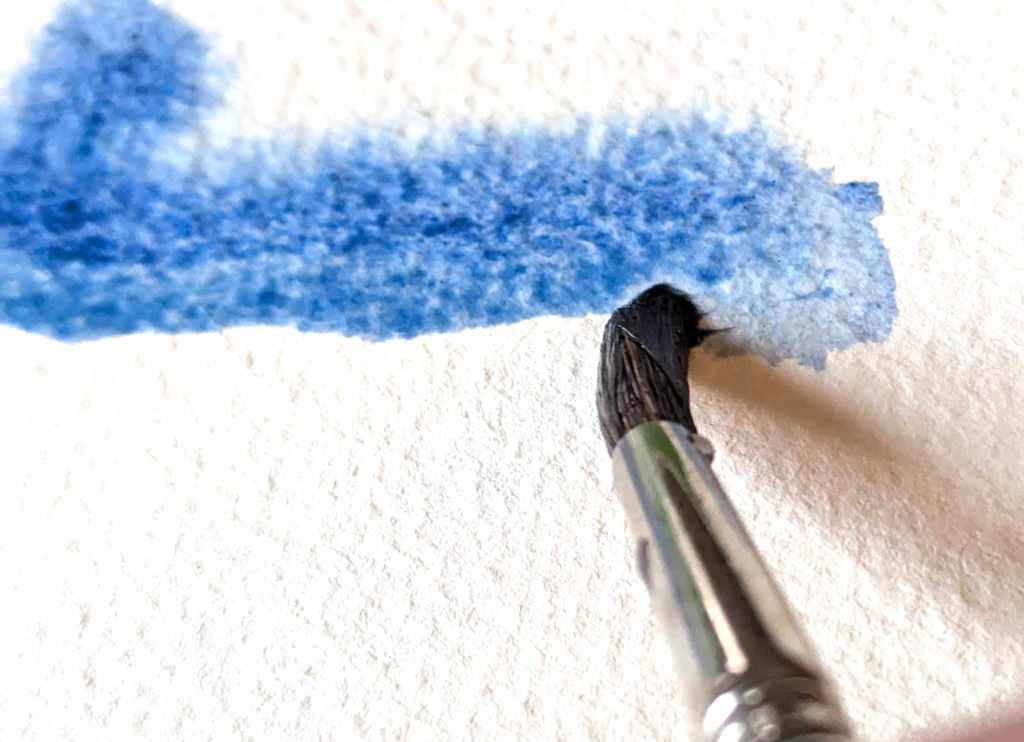
What you are doing is breaking the surface tension at the bottom of the bead, allowing and encouraging that moisture and pigment to drift down into the newly damp area the belly of your brush just created below the bead. (This is so much easier to demonstrate in person than describe in writing!)
Quickly reload your brush (with premixed watercolor paint from your big puddle [remember Secret #5?] or with clear water) whenever your bead starts to shrink or disappear. This is essential! Maintaining a constantly visible bead is the big secret!
To have the most success when you practice learning this, start with a small target area, perhaps two inches wide as I suggested above. Keep moving, but make sure you only touch the bead with the very tip of your brush: never, ever go back up into the area you have finished, even if it still looks very wet. It will look and feel like an innocent enough move with your brush, but trust me, it’ll leave a mark you won’t like!
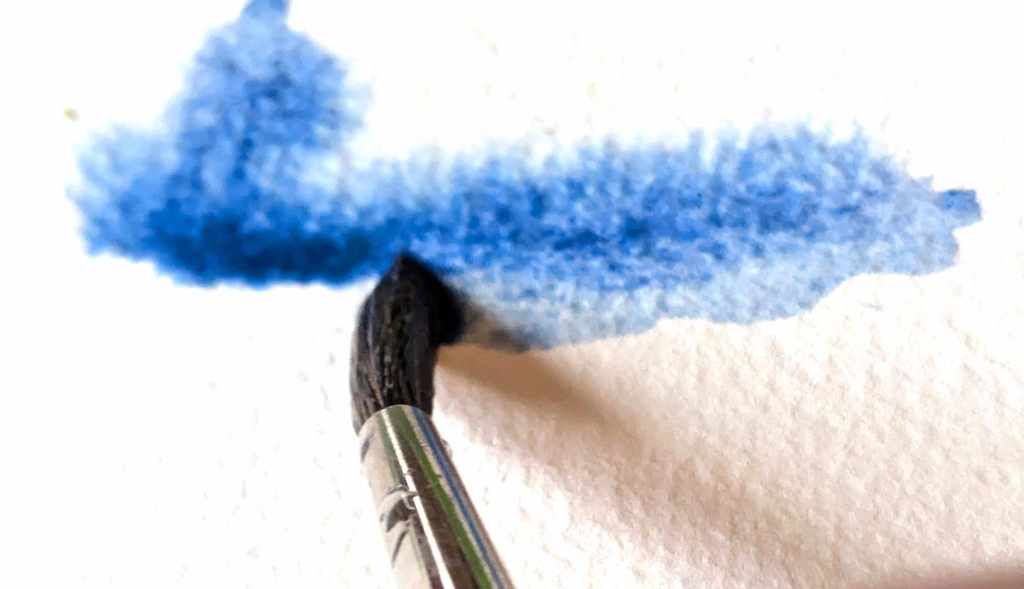
Notice that the tip of my brush is disturbing pigment that was trying to settle happily into place. Resist the urge to fiddle!
I know it’s hard to resist but please try! It will all smooth out beautifully, all on its own, if you have your paper at a slant, have used enough water, and if you LEAVE IT ALONE.
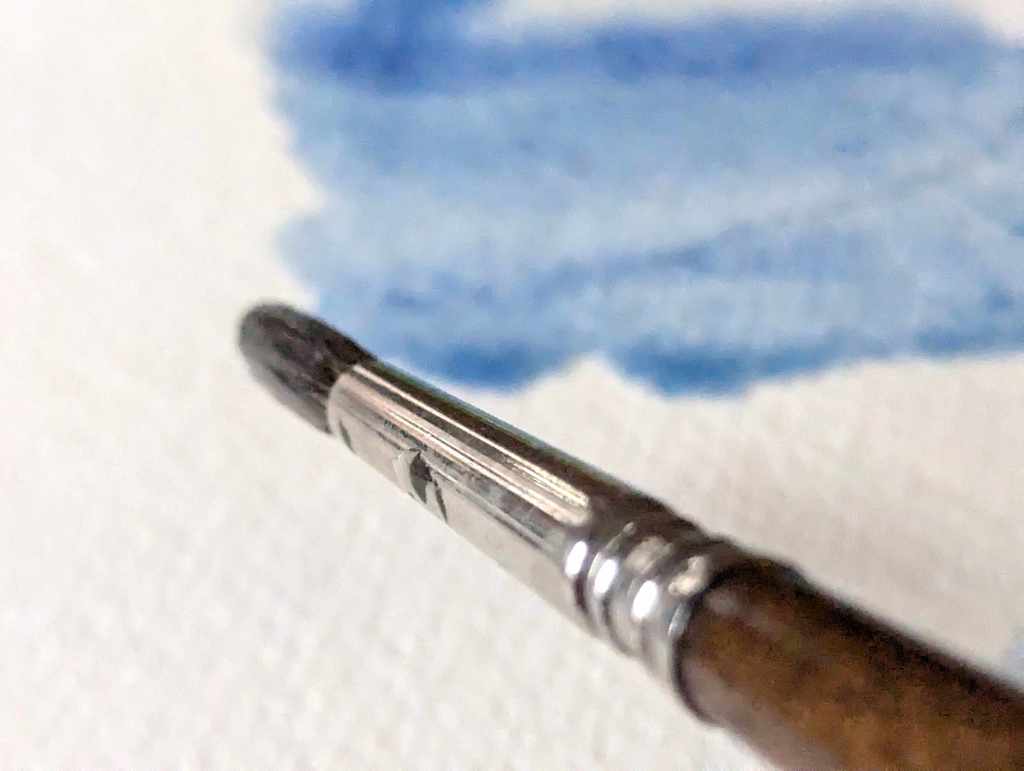
Continue refilling your brush so your bead always stays 3-D and clearly visible. Keep the bead as fat as possible, without it escaping down the page. It’s easier than you think.
To make it even easier you can slightly pre-dampen a small area, like your 2-inch square, before you begin. Then fill your brush with very strong watercolor and lay your first brush stroke along the top of your barely-dampened area. Your full brush will release a long row/bead of color, and the dampness of the paper will encourage the bead to stay wet and start drifting down. Then continue as explained above.
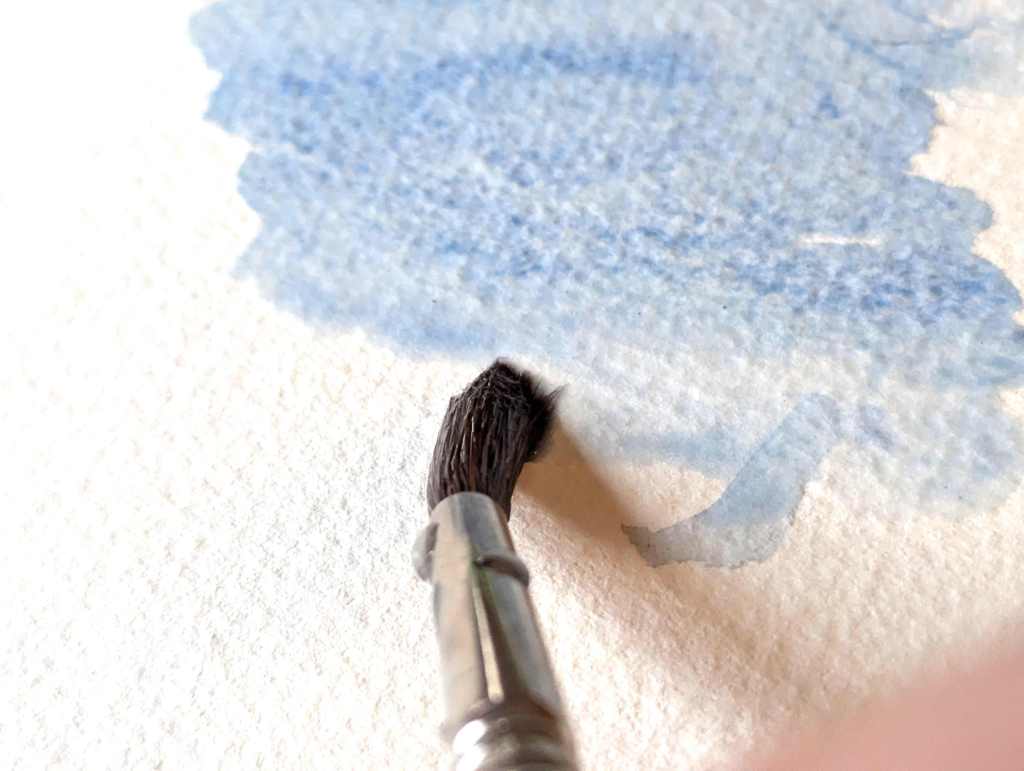
When you get to the bottom of your square, there will be a leftover bead you will need to pick up. Easy! Just clean your brush quickly, dry it off by squeezing it into a towel, and gently touch along the bottom ridge of the final bead. If your brush is dry enough and still pointed, it will act like a straw because the brush is drier than the area it is touching. Dry your brush often at this final step and try not to disturb the paint that has settled to the paper below.
It takes practice, but this practice time in the studio, in a controlled environment, is priceless for exploring these essential techniques. Give yourself the gift of enough time and paper to playfully practice this, so your next plein air experience has an even greater chance of being spectacular.
Get ready for your painting buddies to look over and exclaim, “Hey, how did you do that!?”
~~~~~
***This Secret #6 is from pages 79-81 of the newly expanded Second Edition of my bestseller, “Look at That!” If you would like to purchase a copy of this book, be sure to look for the version with the green stripe down the left side of the cover, and the words “SECOND EDITION” in the blue cloud at the top of the cover. The best shortcuts to find this new book are below: simply click on whatever version you prefer.
“Look at That! – SECOND EDITION”
Note: This latest book is available on Amazon and at my local bookstore, Gibson’s, here in Concord NH. Please contact me here if you do not use Amazon and would still like to purchase a paperback or hard cover copy of Look at That! – Second Edition.
Feel free to forward this post to anyone you think might enjoy it, or re-post it on social media.
If you find these posts valuable, please make a contribution to The Tip Jar. It is a secure site, it helps keep me and this website solvent, and is greatly appreciated!
Questions? Comments? Public comments can be posted below.
Private questions or comments will reach me by using the Contact link here.
And, as always, thanks for spending some time “aloft”!
